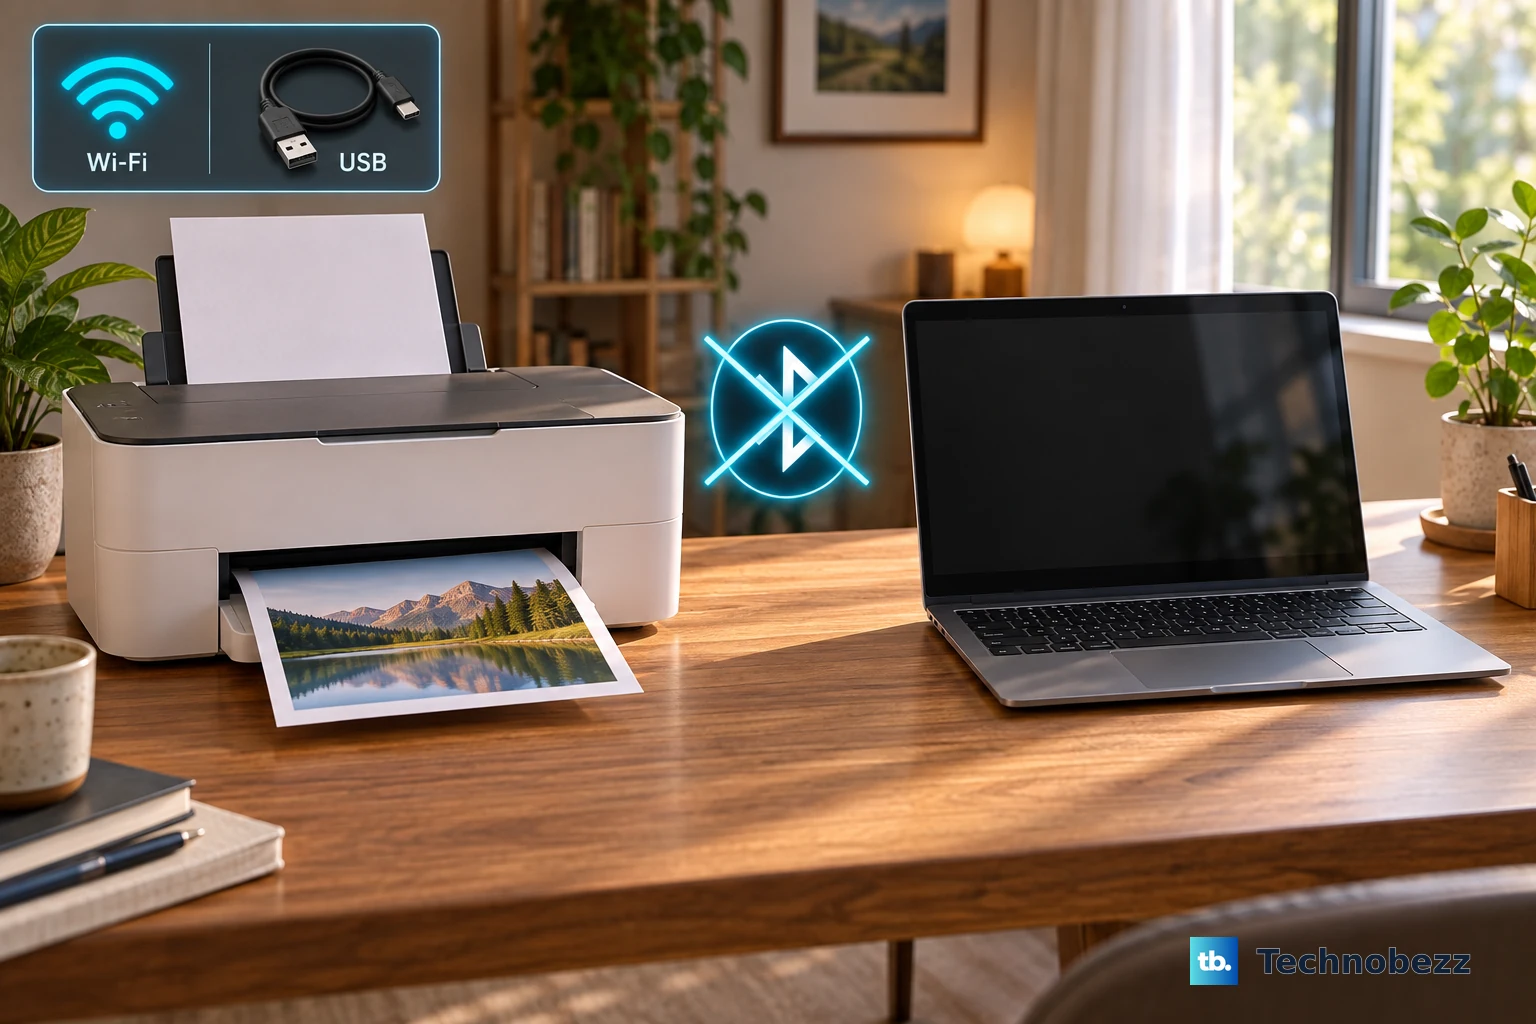
Your Chromebook isn't showing your printer, or you've connected it and still can't print. Start by saving a compatible printer in ChromeOS, then select it in the print dialog. Here's how to connect over your network or USB, add a missing printer, and correct a saved connection.
Connect and save your network printer
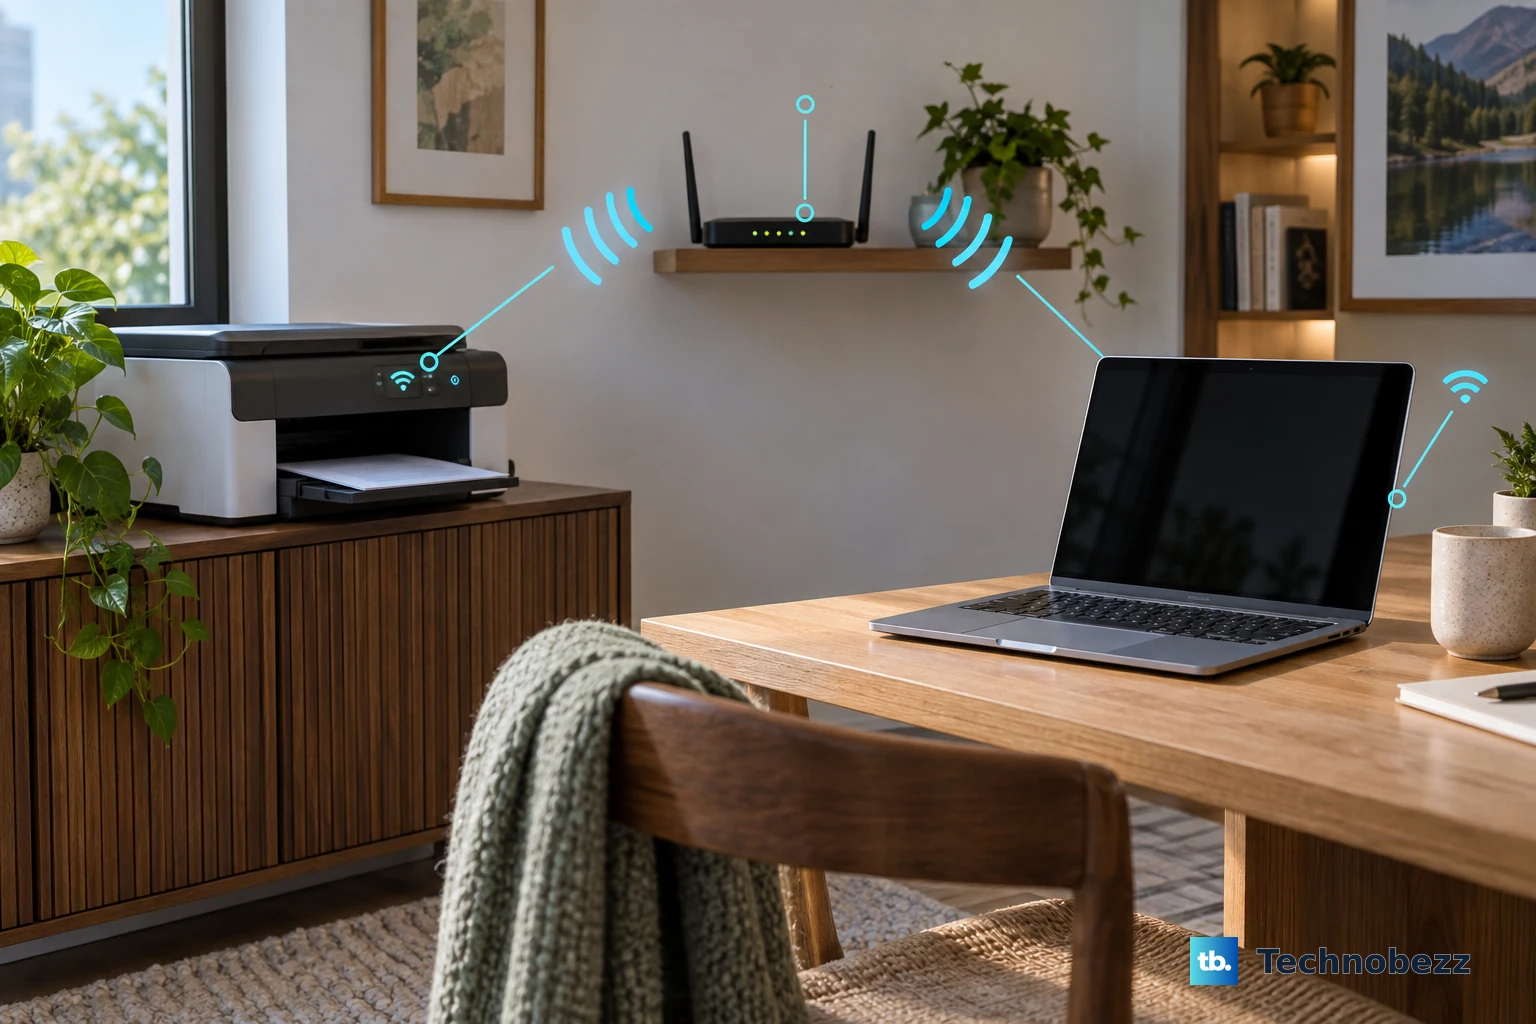
First, connect your printer and Chromebook to the same network. ChromeOS compatibility depends on the printer model; sharing a network doesn't make every printer compatible.
On an HP touchscreen printer with a wireless setup wizard, open Setup, Network, or Wireless. Select Wireless Setup Wizard, choose your home network, and enter its password.
For a supported Ethernet-capable printer, connect it to your router or network switch with an Ethernet cable instead. Your Chromebook can stay on Wi-Fi on that same network.
On your Chromebook, select the time, then open Settings → Device → Printers and scanners → Print. Under Other available printers, select Save beside your printer. Confirm that it appears under Your saved printers.
Print your first document
Choose a saved printer or select a discovered printer directly from the print dialog.
- 1.Open the document or web page you want to print.
- 2.Press Ctrl + P to open the print dialog.
- 3.Select Destination → See more..., then select your printer. ChromeOS checks compatibility when you select it.
- 4.Choose your print settings, then select Print.
Try a direct USB connection
USB bypasses network discovery for a compatible printer. Connect the printer's USB cable to your Chromebook, using an appropriate adapter if needed, then follow the setup instructions in the notification.
Open the document you want to print and press Ctrl + P. Select your printer through Destination → See more..., then select Print to send the job.
Add a missing printer by IP address
Use manual setup when a compatible network printer is reachable but doesn't appear automatically. Have its IP address and your model's connection settings ready.
Return to Settings → Device → Printers and scanners → Print. Under Other available printers, select + Add printer manually. Enter a recognizable printer name in Name, then type the printer's IP address into Address.
Set Protocol to match your printer. Google suggests IPP for most printers; your model's settings take priority. Enter your printer's queue in Queue. Google's suggested value for most printers is ipp/print.
Select Add to save the printer. If the printer requires further configuration, select Set up beside its name. Choose its manufacturer and model. For an unlisted model, Google offers a Generic PPD option, but compatibility depends on the printer.
Select Add. To use a supplied PPD instead, select Browse under Or specify your printer PPD. Supported formats are .ppd and .gzip, with a maximum file size of 250 KB. A Windows or macOS driver installer isn't a PPD.
Choose the PPD file, then select Open.
Fix a saved printer that no longer works
If your saved printer's connection information is incorrect, edit its entry. Open Settings → Device → Printers and scanners → Print to find it.
Beside the printer, select More → Edit. Correct its information.
If editing doesn't resolve the problem, select More → Remove beside that printer. Repeat the network or USB setup above to reconnect it.
Connect through Wi-Fi Direct without a router
No router available? A compatible HP Wi-Fi Direct printer supports a direct wireless connection to your Chromebook.
Get the printer's network name and password from its touchscreen Wi-Fi Direct icon or Information report. Open any online content you need before switching networks. On your Chromebook, select the printer's DIRECT network and enter its password.
Select Connect, then open Settings → Device → Printers and scanners → Print. Under Other available printers, select Save beside the printer. Press Ctrl + P in your document.
Select the printer through Destination → See more..., then select Print. Rejoin your normal Wi-Fi network afterward. If Wi-Fi Direct setup fails, try a direct USB connection with a compatible printer and an appropriate cable or adapter.
Get access on a school or work Chromebook
School and work Chromebooks are subject to printer-management policies. If your organization blocks adding printers, your administrator must change access or provide its printing instructions.
Ask your administrator for printer access or the organization's setup instructions. For an organization using PaperCut Mobility Print, connect to its network. This method requires ChromeOS 114 or later and an operating Mobility Print server publishing printers.
Install the current Mobility Print extension through your organization's setup instructions. Open the content you want to print and press Ctrl + P. Select a printer bearing the PaperCut icon under Destination, using See more... to view the available printers.
Select Print. Authenticate when prompted.
Frequently Asked Questions
Can I connect a Chromebook to a printer using Bluetooth?
No. Chromebook Bluetooth printing is unsupported. Use a compatible network printer or a USB connection instead.
Do I need to install an app or driver on my Chromebook?
Native Chromebook printing requires no app or driver installation. For supported HP printers that need initial setup through the HP app, run that app on a supported phone, tablet, or other computer. Follow its setup prompts, then connect your Chromebook to the printer's network and add the printer in ChromeOS.
Does Google Cloud Print still work?
No. Google ended Google Cloud Print support and printing on January 1, 2021. Its registration and desktop connector no longer work. Use supported local printing or a supported third-party printing service.
Can I open printing without the keyboard shortcut?
Yes. In Chrome, select More → Print.... In Google Docs or Slides, select File → Print. In Sheets, select File → Print, configure the sheet, then select Next. Choose your printer in the resulting dialog and select Print.