A missing health reading or storage warning leaves you wondering whether your drive is in trouble. Checking the file system answers only part of that question. Here's how to check hard drive health on Windows, Mac, and Linux, choose the right test, and make sense of the results.
Start with the right kind of check
A USB bridge, storage controller, or driver that hides health data prevents your diagnostic tool from displaying those readings.
Choose a tool that supports your drive and its connection. Windows Settings monitors supported NVMe SSDs only. For a mechanical hard drive or SATA SSD, use another method, such as CrystalDiskInfo.
Back up important files before repairs or lengthy testing.
If Windows reports depleted spare capacity, degraded reliability, or read-only operation, back up the affected drive before proceeding.
Keep the distinction clear: hardware-health readings and drive self-tests assess the device itself, while file-system checks examine how its data is organized. A passing result does not guarantee future reliability. Missing readings do not mean the drive is healthy, either.
Check a Windows drive with CrystalDiskInfo
CrystalDiskInfo supports HDDs, SSDs, NVMe drives, and some USB and Intel RAID connections on Windows 11.
- 1.Download CrystalDiskInfo from Crystal Dew World's official download page, choosing its installer or ZIP package. CrystalDiskMark is a separate benchmarking app.
- 2.Open CrystalDiskInfo and select your target drive through Disk.
- 3.Read Health Status and the temperature display.
- 4.Inspect the SMART attribute table for the selected drive.
- 5.Choose Function > Refresh to update the readings.
Use Windows 11’s built-in health readings
Open Start > Settings > System > Storage > Advanced storage settings > Disks & volumes.
Select Properties for the physical disk you want to inspect.
Review the remaining life, spare capacity, temperature, and any warnings. These readings cover supported NVMe SSDs only; SATA SSDs and mechanical HDDs need a different tool.
For a separate Windows storage-health summary, open Windows PowerShell using Run as administrator.
Run Get-PhysicalDisk | Select-Object FriendlyName,MediaType,HealthStatus,OperationalStatus. This displays the disks and their reported status, subject to which physical disks the storage provider and controller expose.
Run Get-PhysicalDisk | Get-StorageReliabilityCounter | Format-List to inspect the available temperature, wear, error, and operating-hour counters. The drive, driver, and controller determine which counters appear. Missing counters do not establish good health.
Tip: Select a Windows critical storage-device notification to jump straight to the affected disk’s details.
Check Windows file-system errors separately
Use CHKDSK to check file-system problems on a local volume and repair errors when needed. It also offers a bad-sector check, but it does not produce a SMART hardware-health report.
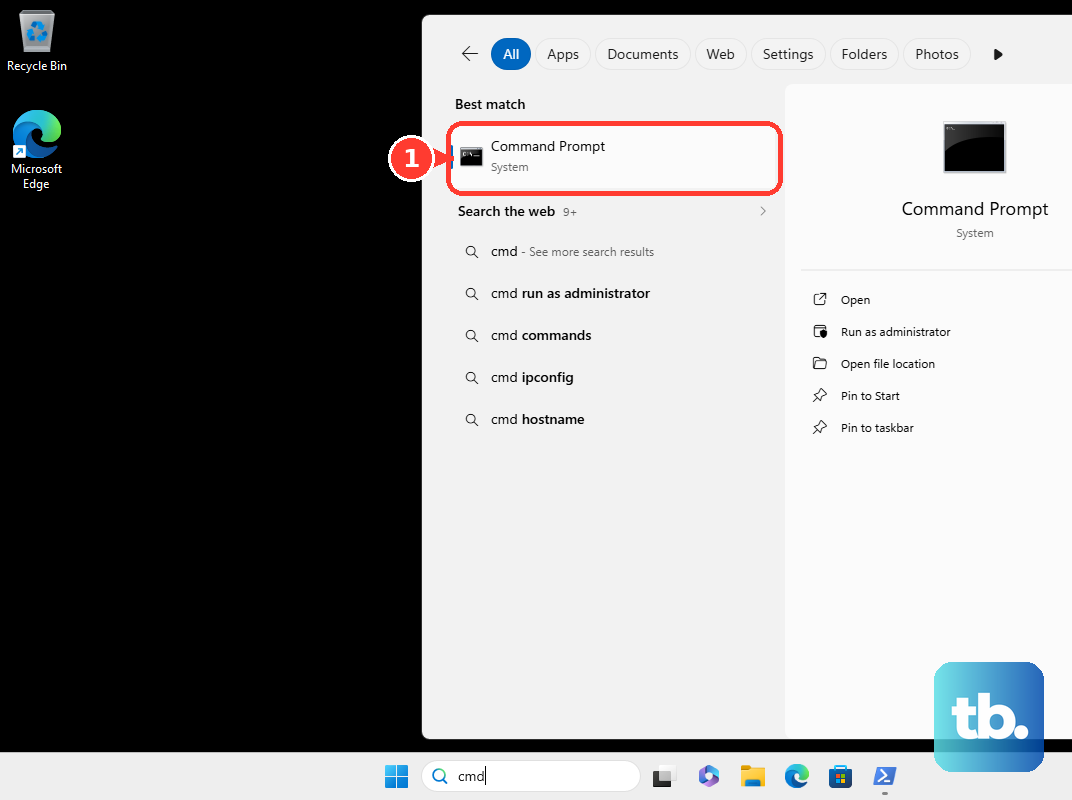
Open Command Prompt using Run as administrator.
Enter chkdsk X: for a status check, replacing X with the local drive’s letter.
For an online scan of an NTFS volume, run chkdsk X: /scan instead.
Back up the drive before moving on to repair commands.
Run chkdsk X: /f to repair file-system errors. Repairs that require exclusive access to an in-use startup volume require a restart.
Run chkdsk X: /r when you also need a bad-sector search and an attempt to recover readable information. This goes beyond reading the drive’s reported health status.
To inspect a completed startup scan, press Windows+R.
Enter eventvwr.msc in the Run dialog.
Select OK.
Open Windows Logs > Application > Filter Current Log.
Under Event sources, select Chkdsk and Wininit.
Select OK to display the matching logs.
If you use a Mac, start in Disk Utility
Disk Utility reports accessible hardware warnings; First Aid repairs formatting and directory errors.
Open Applications > Utilities > Disk Utility.
Select the disk you want to inspect.
Click Info.
Look for a hardware-failure message. Disk Utility reports health information only for disks whose data macOS can access.
If it reports a fatal hardware error, back up the disk.
Arrange service for a disk with a fatal hardware error, as Apple advises.
To check the file system, choose View > Show All Devices.
Select the lowest volume in the disk’s hierarchy.
Choose First Aid > Run.
Repeat First Aid upward through the remaining volumes, volume groups, containers, and finally the physical device. This checks formatting and directory structures; it does not establish complete hardware health.
If your Apple-silicon Mac cannot start normally, shut it down before entering Recovery.
Hold the power button until startup options appear.
Select Options > Continue.
On an Intel Mac, enter Recovery by starting the computer while holding Command-R instead.
Select Disk Utility > Continue in Recovery.
Run the same First Aid sequence through the disk hierarchy.
On Ubuntu, inspect SMART data in Disks
Ubuntu’s Disks app provides SMART information and supported drive self-tests. Access depends on the drive and its connection exposing that information.
Open Disks from Activities.
Select the physical disk in the left sidebar.
Open the menu and choose SMART Data & Self-Tests….
Review Overall Assessment and SMART Attributes.
Select Start Self-test to initiate a supported test.
If Disks cannot access the health data or run a test, try a diagnostic utility that supports your drive and connection. An unavailable result is not a pass.
When you need a drive self-test
For a closer look, choose a diagnostic utility that explicitly supports your model and connection. These tools run supported drive tests as well as display health information. Back up important files before lengthy testing.
For SeaTools 5 on Windows or Linux, download the current app from Seagate’s SeaTools page.
Open Health.
Select your drive.
Choose Self Test to run the short built-in diagnostic.
Inspect Results after it finishes.
Read the test descriptions before choosing further diagnostics under Quick Tests or Extended Tests. Some generic SeaTools tests perform read/write operations. Available tests depend on the drive and interface.
For a supported WD or WD_BLACK HDD on Windows 11, use Western Digital Kitfox. It supports specified internal HDDs and WD_BLACK P10/D10 external drives. Detecting another device does not establish support.
Select the drive under My Devices.
Under Device Health, choose Short Test or Extended Test.
Inspect the completed result.
For a supported SANDISK or WD SSD, use SANDISK Dashboard. Its supported storage excludes internal mechanical HDDs.
Select the drive under My Devices.
Open Tools.
Choose S.M.A.R.T. Short Test or Extended Test.
Inspect the completed result.
If a utility cannot run the test, try another diagnostic that explicitly supports your drive model and connection.
Frequently Asked Questions
Does formatting or defragmenting a drive check its health?
No. Formatting, defragmenting, TRIM, and secure erasure are not substitutes for diagnosis. Free-space figures and benchmark performance also do not establish hardware health.
Can I use CHKDSK on a mapped network drive?
No. CHKDSK applies to local volumes, including HDDs and SSDs, and excludes network-mapped drives.
Does the old WMIC disk-status command still work on current Windows 11?
Microsoft has removed WMIC from current Windows 11. Use PowerShell/CIM or a supported diagnostic utility. WMI itself remains supported; a general device-status query still does not replace a complete SMART analysis or surface test.
Can I test a PC drive when Windows will not start?
Yes. SeaTools Bootable runs from a bootable USB on compatible PCs and storage controllers. Supported Dell and HP computers also offer preboot storage diagnostics. The startup key depends on the manufacturer and model.