AnyDesk gives every installation a unique numerical ID that other devices use to connect to it. That ID works, but it is hard to remember and easy to mistype. An alias replaces those digits with a readable name like office-pc or homelaptop, which makes starting a remote session faster and less error prone.
Changing an alias is simple once you know where the setting lives, but AnyDesk also places real limits on who can set one and how many times it can change. This guide walks through the exact steps, explains the public namespace rules, and shows when a custom namespace is the better choice.
AnyDesk ID and Alias Explained
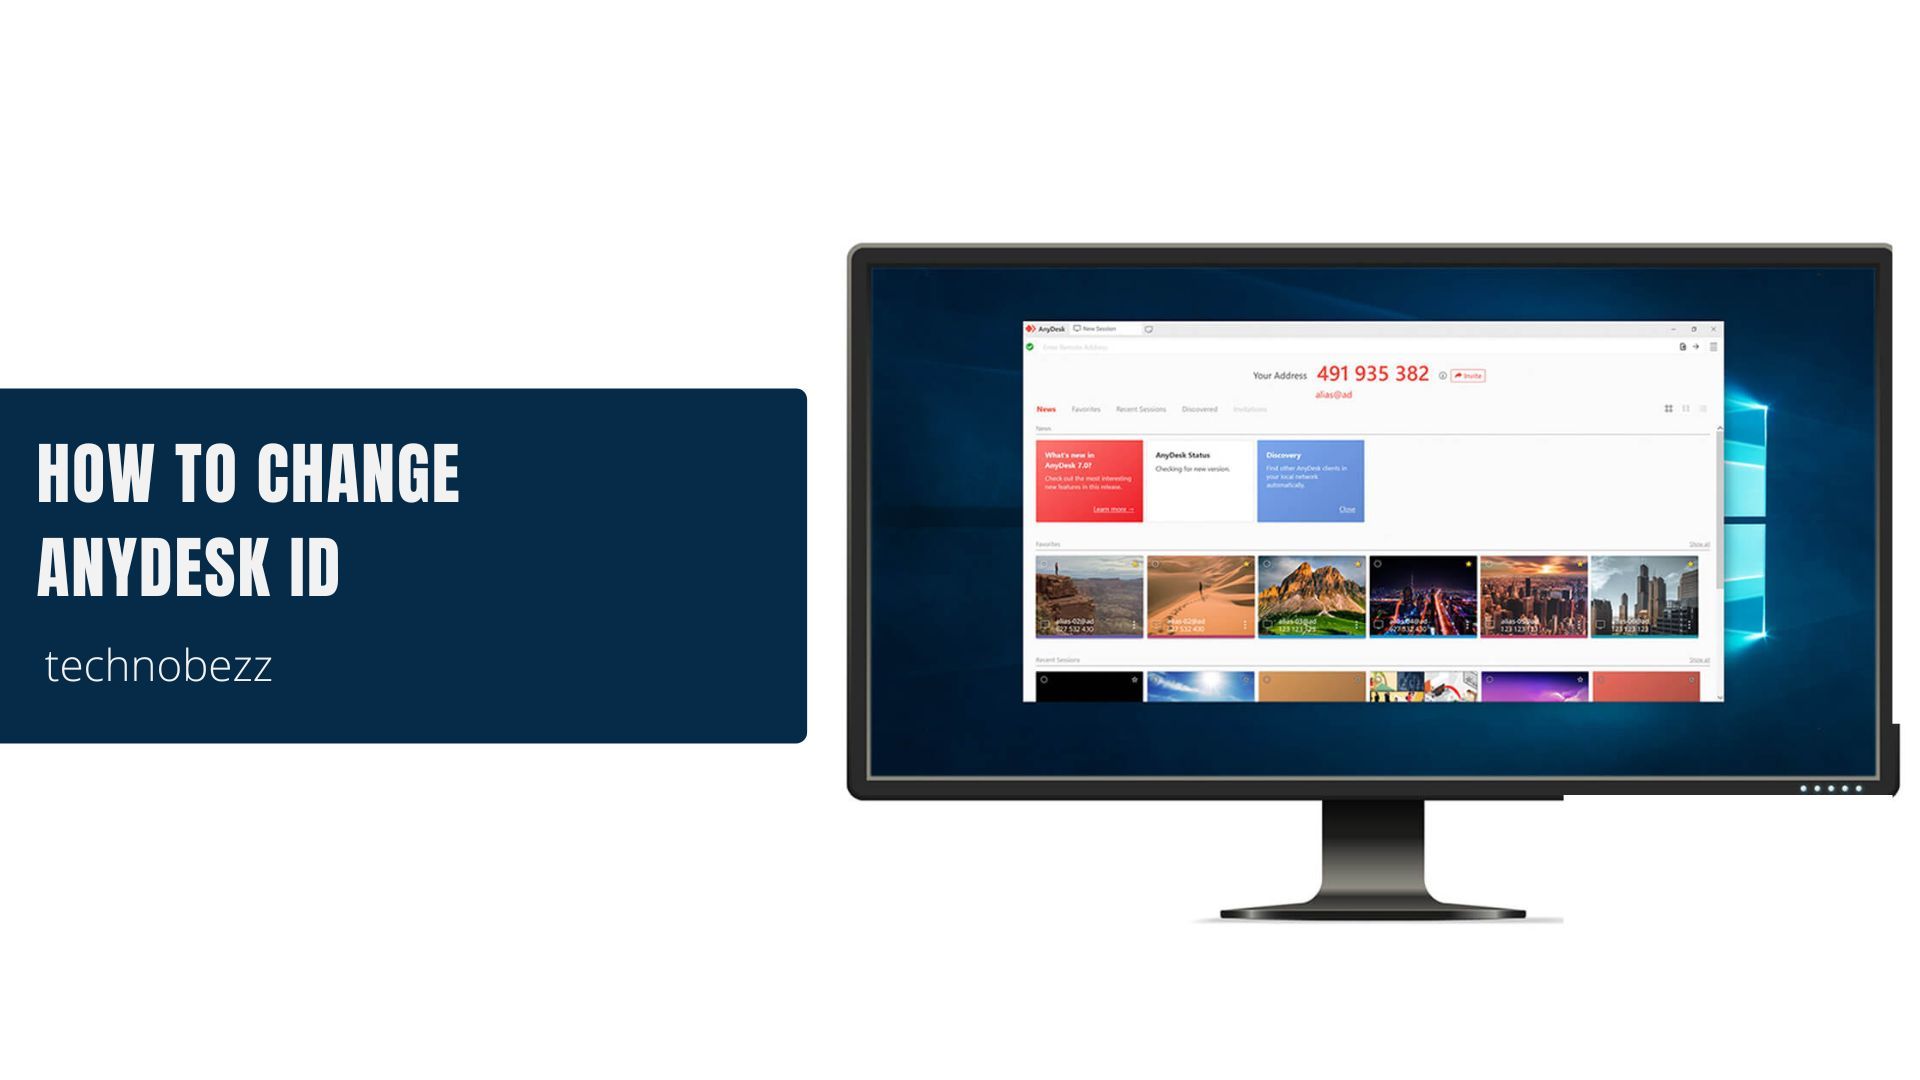
Your AnyDesk ID is a numerical address tied to your installation. It is generated when the software is first installed and acts like a permanent identifier for that device, similar to a phone number.
An alias is a friendlier label layered on top of that ID. Instead of reading a long number to a colleague, you can share a short name. In the public namespace, an alias takes the form name@ad, where @ad is the shared public domain that AnyDesk assigns to everyone.
Both the ID and the alias point to the same device, so a connection started with either one reaches the same client. The alias simply makes the address easier for people to use.
Who Can Set or Change an Alias
Setting an alias is a paid feature. If you open the alias setting on the free version, the option to choose an alias is greyed out, which is AnyDesk's way of signaling that a paid license is required.
Once you have a paid license, you can assign an alias in the public namespace. The public namespace allows up to three aliases per AnyDesk ID, so there is some room to adjust, but that ceiling is fixed.
If you expect to rename devices regularly, the public namespace will feel restrictive. In that case a custom namespace, covered later, removes the limit.
Set an Alias in the Public Namespace
With a paid license active, you can register a public alias directly from the desktop client. The path is short and the change applies right away.
Settings > Identity > Alias > Choose alias
- 1.Open AnyDesk on the device you want to rename.
- 2.Click the menu in the upper right and open Settings.
- 3.Go to the Identity section and find the Alias area.
- 4.Click Choose alias.
- 5.Type the name you want, then click Register.
You can also reach the same control from the main screen. Right-click your AnyDesk ID and pick Choose alias from the menu. After registering, the new name@ad alias is active and usable for incoming connections.
Why the Public Namespace Is Limited
The public namespace is shared by every AnyDesk user, so each alias has to stay unique across the whole platform. To keep that pool stable, AnyDesk treats public aliases as permanent.
Once you register a public alias, it is permanently linked to your AnyDesk ID. It cannot be removed or reassigned later, and it counts toward your three-alias limit even if you stop using it.
Because of that, choose public aliases carefully. A clear, lasting name is better than a temporary one you may regret, since you cannot reclaim the slot.
Use a Custom Namespace for More Control
A namespace is the part of an alias that appears after the @ symbol. The public version is @ad, but a custom namespace lets you use your own domain instead, such as name@yourcompany. This is the option businesses usually want.
A custom namespace requires a paid license plus a custom Namespace add-on, which you arrange through the AnyDesk webshop or with their sales team. Aliases inside your own namespace are far more flexible than public ones because you can create, change, or reassign them at any time without limitation.
Custom namespaces also help with organization and trust. Every managed device can carry an alias ending in your company name, which is easier to recognize and harder to spoof than a generic public address.
Manage Aliases and Clients Online
Beyond the desktop client, you can review and manage your registered devices in the my.anydesk II web portal. Sign in with your license account to see each client, its ID, and its alias in one place.
my.anydesk II > Clients
Open the Clients tab and select a device to view its details, including the client address, the namespace in use, the operating system, and the installed AnyDesk version. If you deploy custom builds, the Builds tab can generate a client that sets the hostname as the alias in either the public or a custom namespace.
The portal is also where custom namespace settings live, so it is the natural home base once you move past the public namespace.
Back Up Your AnyDesk Settings First
Your alias and ID information is stored in configuration files on the device. Uninstalling AnyDesk can remove those files if you select that option during uninstall, so back them up before you reinstall or migrate to a new machine.
Locate your AnyDesk configuration files and copy them somewhere safe before any uninstall. Restoring them on a fresh install helps keep the same identity rather than starting over.
This matters most with public aliases, since they cannot be re-created if lost. A quick backup protects the names you have already locked in.
Frequently Asked Questions
Can I change my AnyDesk alias on the free version
No. The option to choose an alias is greyed out on the free version. You need a paid license to register or change an alias.
How many aliases can one AnyDesk ID have
In the public namespace, each AnyDesk ID can be assigned up to three aliases. A custom namespace gives you more freedom because you control the domain yourself.
Can I delete or reuse a public alias I no longer want
No. Public namespace aliases are permanently linked to your ID and cannot be removed or reassigned, so pick names you intend to keep.
What does the @ad at the end of my alias mean
@ad is the public namespace shared by all AnyDesk users. A custom namespace replaces @ad with your own domain, such as @yourcompany.
How do I get a custom namespace
A custom namespace needs a paid license plus a custom Namespace add-on, which you obtain through the AnyDesk webshop or by contacting their sales team.
Where is the alias setting in AnyDesk
Open Settings, go to the Identity section, find the Alias area, and click Choose alias. You can also right-click your AnyDesk ID and select Choose alias.
First published October 17, 2025. Last updated June 4, 2026.