Want to put words on a photo, but only found the caption field? Your iPhone’s Photos app has a built-in text tool in Markup, so you don’t need another editor. Start with a simple text box, or use the options below for handwriting, Messages, and styled designs.
Add text directly in Photos
Open Photos and select the picture you want to edit. Tap Edit, then Markup. Tap + and choose Add Text to place a text box on the image.
Tap the text box and enter your words. Use the formatting controls to change the text’s appearance. Tap Done to save. On iOS 26, tap Done twice to complete the edit.
Write on the picture by hand
Use Markup’s drawing tools to write with your finger instead of typing. Open your photo in Photos.
Tap Edit, then select Markup. Choose the pen, marker, or pencil. Tap the selected tool to adjust its thickness or opacity. Choose your writing color with Color Picker.
Write your words on the photo with your finger. Save using Done, tapping it twice on iOS 26.
Make caption text visible on the image
Words entered in a photo’s caption field stay in its searchable description, so they don’t appear on the picture itself. To add visible lettering, open the photo’s Edit controls. Choose Markup, then tap + and select Add Text.
Enter your words in the text box. Complete the edit with Done, tapping it twice on iOS 26. You can keep both: the caption helps describe the photo, and the text box puts words on the image.
Annotate a photo before sending it in Messages
Open a conversation in Messages. Tap +, choose Photos, and select the picture you want to send. Tap the photo’s preview in the message. Open Markup.
Tap +, choose Add Text, and enter your message in the text box. Tap Save, then tap Done and tap Send. Use this route when you want to add words to a photo without leaving the conversation.
Edit image files in Preview
Working with an image file? Preview on iPhone supports image annotation. Apple introduced the app with iOS 26.
Open the image in Preview. Tap Markup, then tap + and choose Add Text. Tap the text box to enter your words. Adjust their appearance with the formatting controls.
Tap Done to finish. If Preview doesn’t work for your image, try Quick Look with a compatible image format. In Files, touch and hold the image, then choose Open With > Preview with Quick Look. Open Markup > + > Add Text and enter your words.
Use Canva for a styled photo design
Choose Canva’s image-design editor for styled text; some text features aren’t available in Canva Docs.
- 1.Open Canva and create a design.
- 2.Go to Uploads and select Upload files to upload your photo. Toolbar placement differs between the mobile app and browser editor.
- 3.Add the photo to the canvas.
- 4.Choose Text, then Add a text box.
- 5.Enter and format your words, then position the box over the photo.
- 6.Open Share and choose Download to download the image.
Frequently Asked Questions
Do I need Apple Intelligence to add text to a photo?
No. Adding text through Photos and Markup does not require Apple Intelligence.
Can I dictate the words instead of typing them?
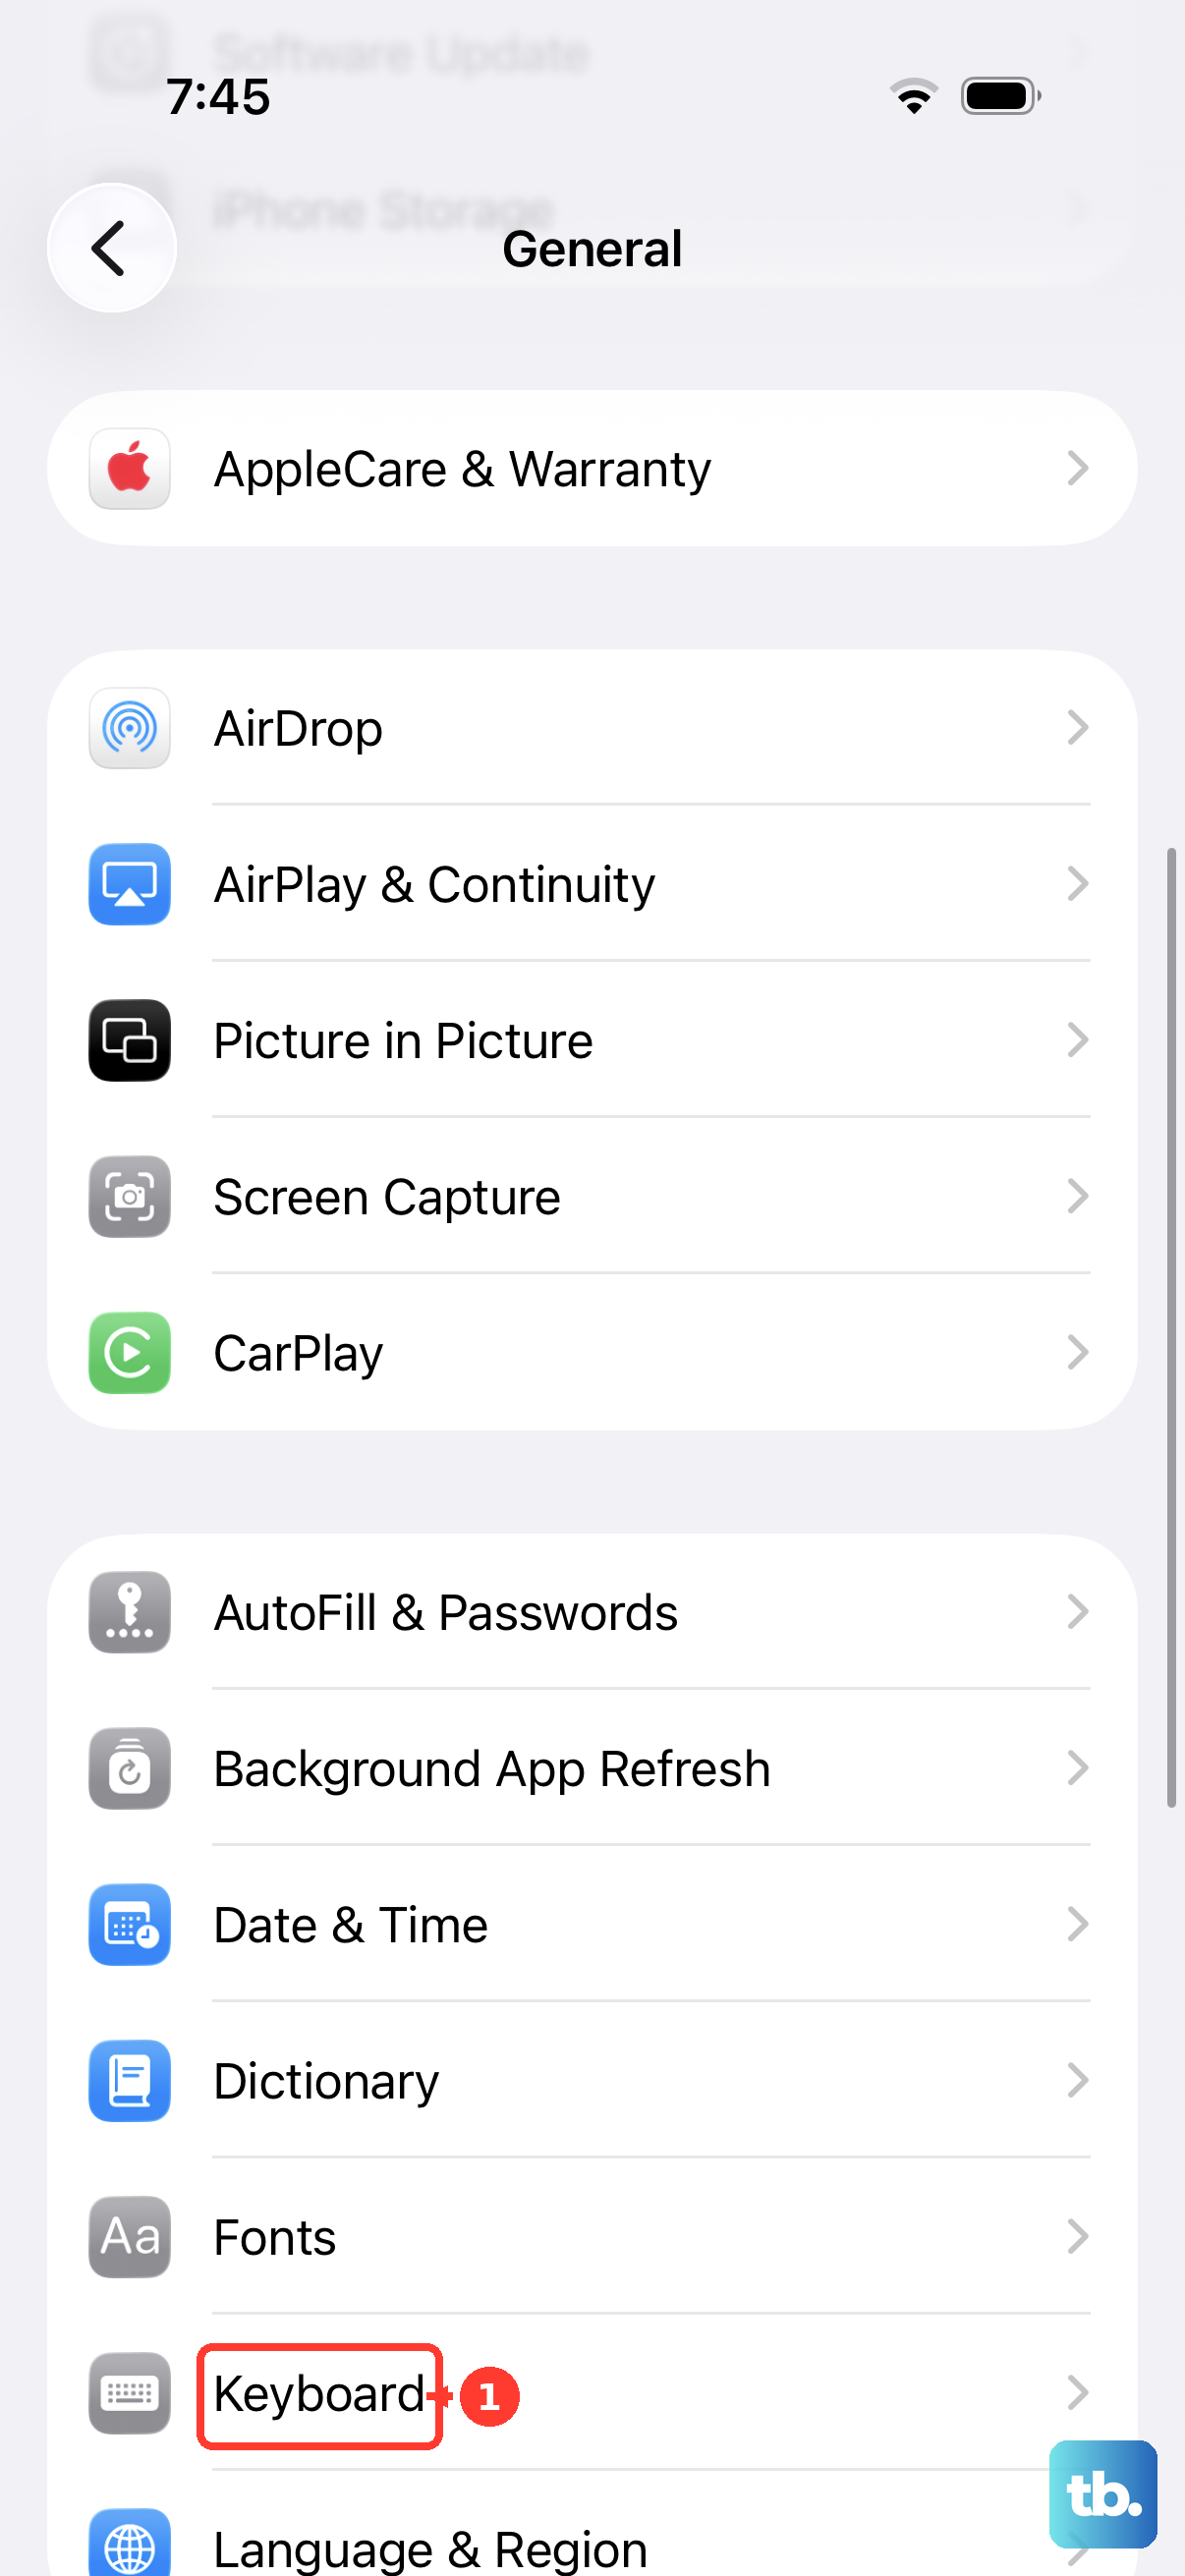
Yes. Go to Settings > General > Keyboard and turn on Enable Dictation. Tap inside a Markup text box, then tap the keyboard’s Dictation microphone and speak. Finish dictation and save the edit. Availability varies by language and region.
Can I add a saved handwritten signature?
Yes. In Markup, tap + > Add Signature > Add or Remove Signature > +. Write with your finger and tap Done. To reuse a saved signature, select it from Add Signature.
Will adding text to a screenshot preserve the original photo’s resolution?
No. A screenshot captures the displayed photo at screen resolution. To avoid that limitation, edit the photo itself through Photos > Edit > Markup.