Windows 10 features many great options that allow users to get the most out of their PCs. You can customize it all to match your needs and desires, and the best part is that making any change is simple.
One of the cool things is the Startup folder which allows you to choose the programs that will start running as soon as you start Windows. Here, we will show you how to access Windows 10 startup folder and add or remove programs.
Here is how to access the Windows 10 Startup folder
To access the Windows 10 startup folder:
- On your keyboard, press the Windows button and the R button at the same time
- When the Run window shows up, type shell:startup and hit Enter
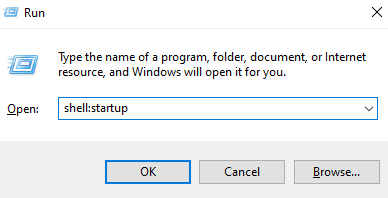
- This will open a Startup folder
How to add or remove programs from the Startup folder
Once the Startup folder opens, you can add the programs to it. Everything you add will start running as soon as you start Windows 10. So make sure to add only the programs you need immediately.
To add a program:
- Right-click anywhere within a folder and then click New > Shortcut
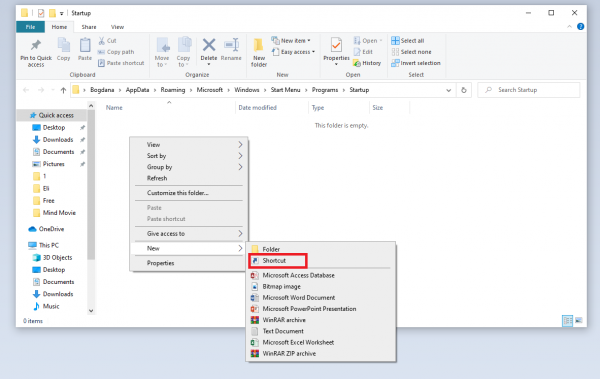
- Select Browse to find the program you want to add to the Startup folder
- Once you find the program, select it and click OK
- Click Next, and then click Finish
If you want to remove a program from the Startup folder, click on the program and then click the Delete button at the top.
As you can see, accessing the folder is super simple, as well as adding or removing the programs. You can now make the desired changes with just a few clicks.
Also Read


Recent
Ottocast Car TV Mate Max Review – A Versatile In-Car Entertainment Adapter
iPhone Battery Dying In Minutes? 23 Real Fixes That Work
Ottocast Play2Video Pro Ups the Game in Affordable Car Entertainment
Ottocast OttoAibox P3 Powers a Smarter Driving Experience
How to Disable WebRTC in Your Browser Settings
Guides

Lenovo Debuts Solar-Charging Laptop That Turns 20 Minutes of Sunlight Into Hour of Video

Why Do Smartphones Get Slower Over Time?

Decoding Tech Jargon: The A to Z Cheat Sheet (Free Downloadable PDF)

How to Clear an App's Cache on Your Samsung Device

Why Are My iPhone Messages Green Instead of Blue?

Everything Google Knows About You (And How to Stop It)
