The microphone on your phone plays a crucial role in allowing you to make calls, record videos, and use voice commands with Siri. However, it can be frustrating when your iPhone XR microphone stops working suddenly.
This issue can occur due to various reasons, such as software glitches, physical damage, or dirt and debris blocking the microphone. In this article, we will explore some of the common causes of iPhone XR microphone problems and suggest troubleshooting steps to fix the issue.
See Also- Slow Performance: Tips To Improve Your Device's Speed
How to Fix the Microphone on an iPhone XR - 11 Ways To Fix It
Test the microphone
Before sharing the most effective troubleshooting techniques, let's test your iPhone XR microphone first. There are different ways to do that.
Using Voice Memos
- Open the Voice Memos app that you can find on the Home screen.
- Make sure your fingers aren’t covering the microphone.
- Tap the record icon (the red circle) to start speaking. Once you finish recording your voice, tap the red button.
- You can now playback the recording voice by tapping the play icon next to the red button. Make sure you can hear your voice recording.
Siri
Try to access Siri and ask something. Press the Home button (Or Power button) a bit longer until Siri shows up. Try to speak to Siri and ask her anything. If Siri doesn’t answer your request or question correctly, try again with a louder voice.
Use the Camera app or FaceTime.
You can also use the Camera app or FaceTime video feature to record the audio. Launch the Camera app and set it to Video. Then, record your voice and playback it to check if you can hear your voice clearly or not.
1. Remove phone case
Try removing your iPhone XR case or screen protector that could be covering your speakers and iSight mic. Test your microphone by following the steps mentioned above.
2. Turn off Noise Cancelation (Models 12 and Older)
Phone Noise Cancelation is a valuable feature that you can find on your iPhone XR. It can help reduce the surrounding noise when making a phone call. To turn it off, navigate to Settings and tap General. Then, select Accessibility, scroll down and find Phone Noise Cancelation. If you see the green button next to it, tap it to turn it off.
3. Restart device
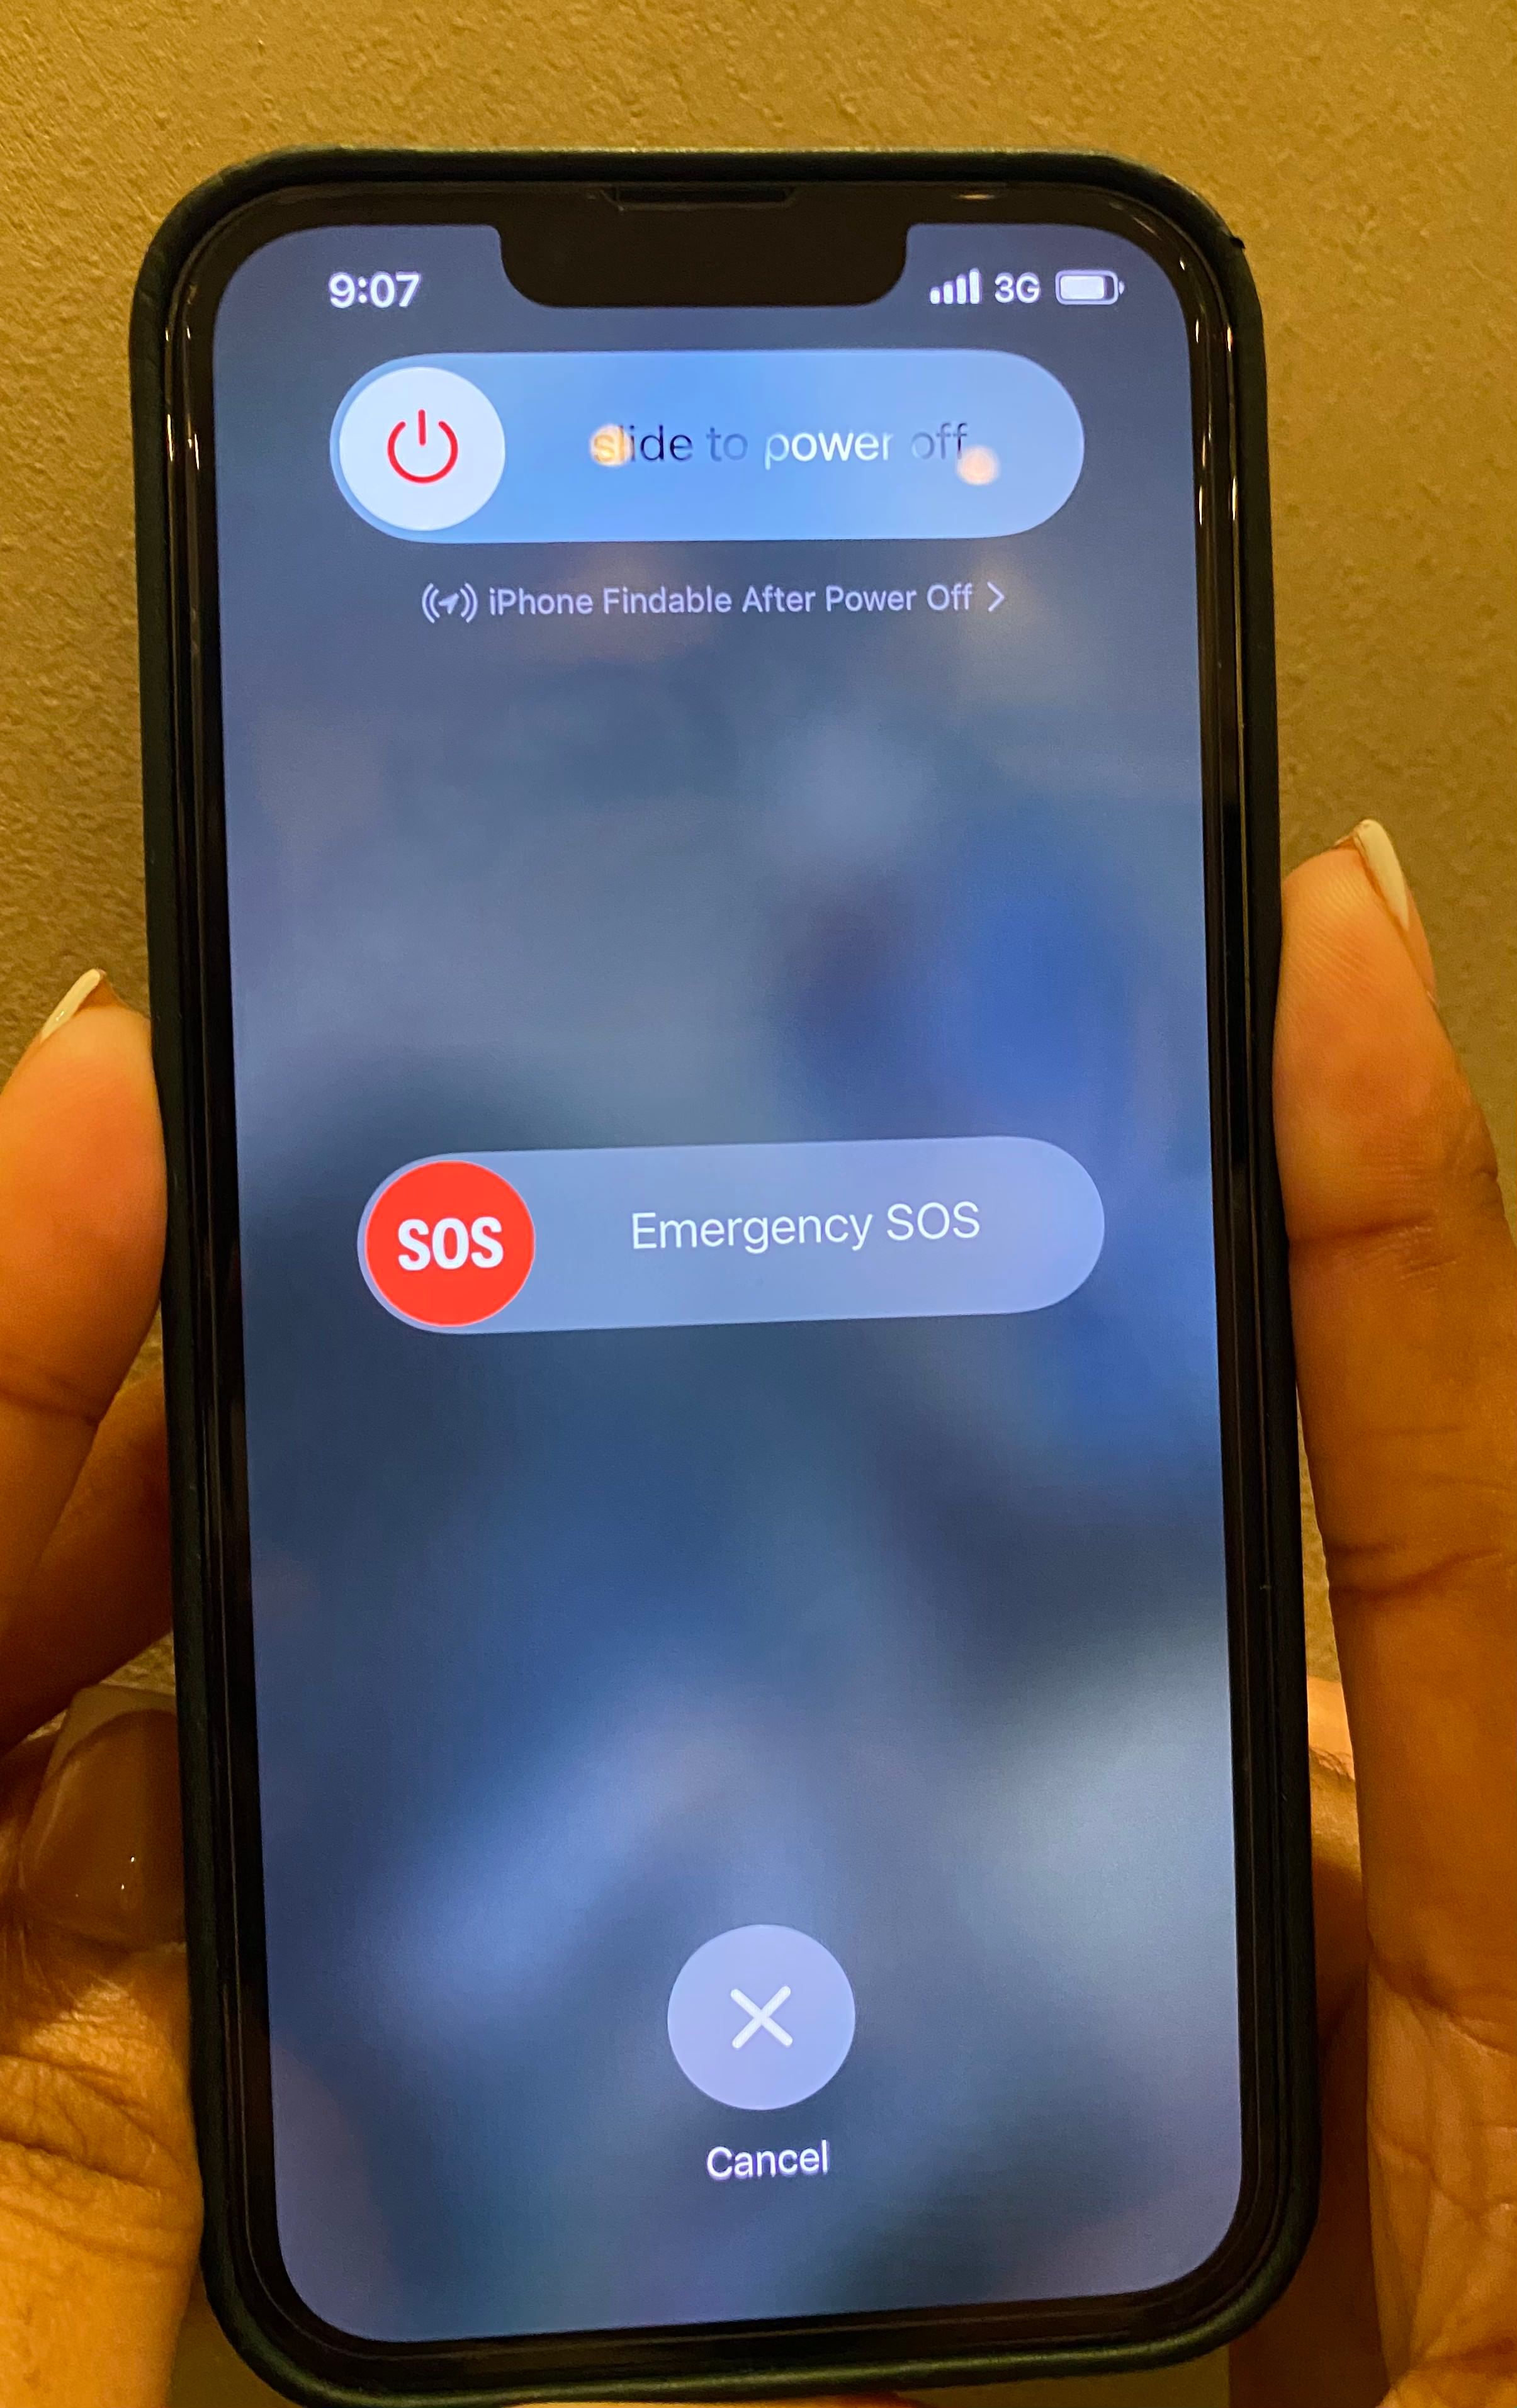
A restart can fix various issues. Press and hold the Sleep/Wake (Volume Down + Power) buttons until you see the red slider, and slide to the right to turn it off. Wait for a few seconds, then turn it back on by pressing the same button until you see the Apple logo.
4. Disable Bluetooth (Any Audio Accessories)
- Temporarily disable Bluetooth.
- Disconnect any audio accessories or AirPods
- Remove any Headphones
See also - How To Fix An Unresponsive IPhone Screen
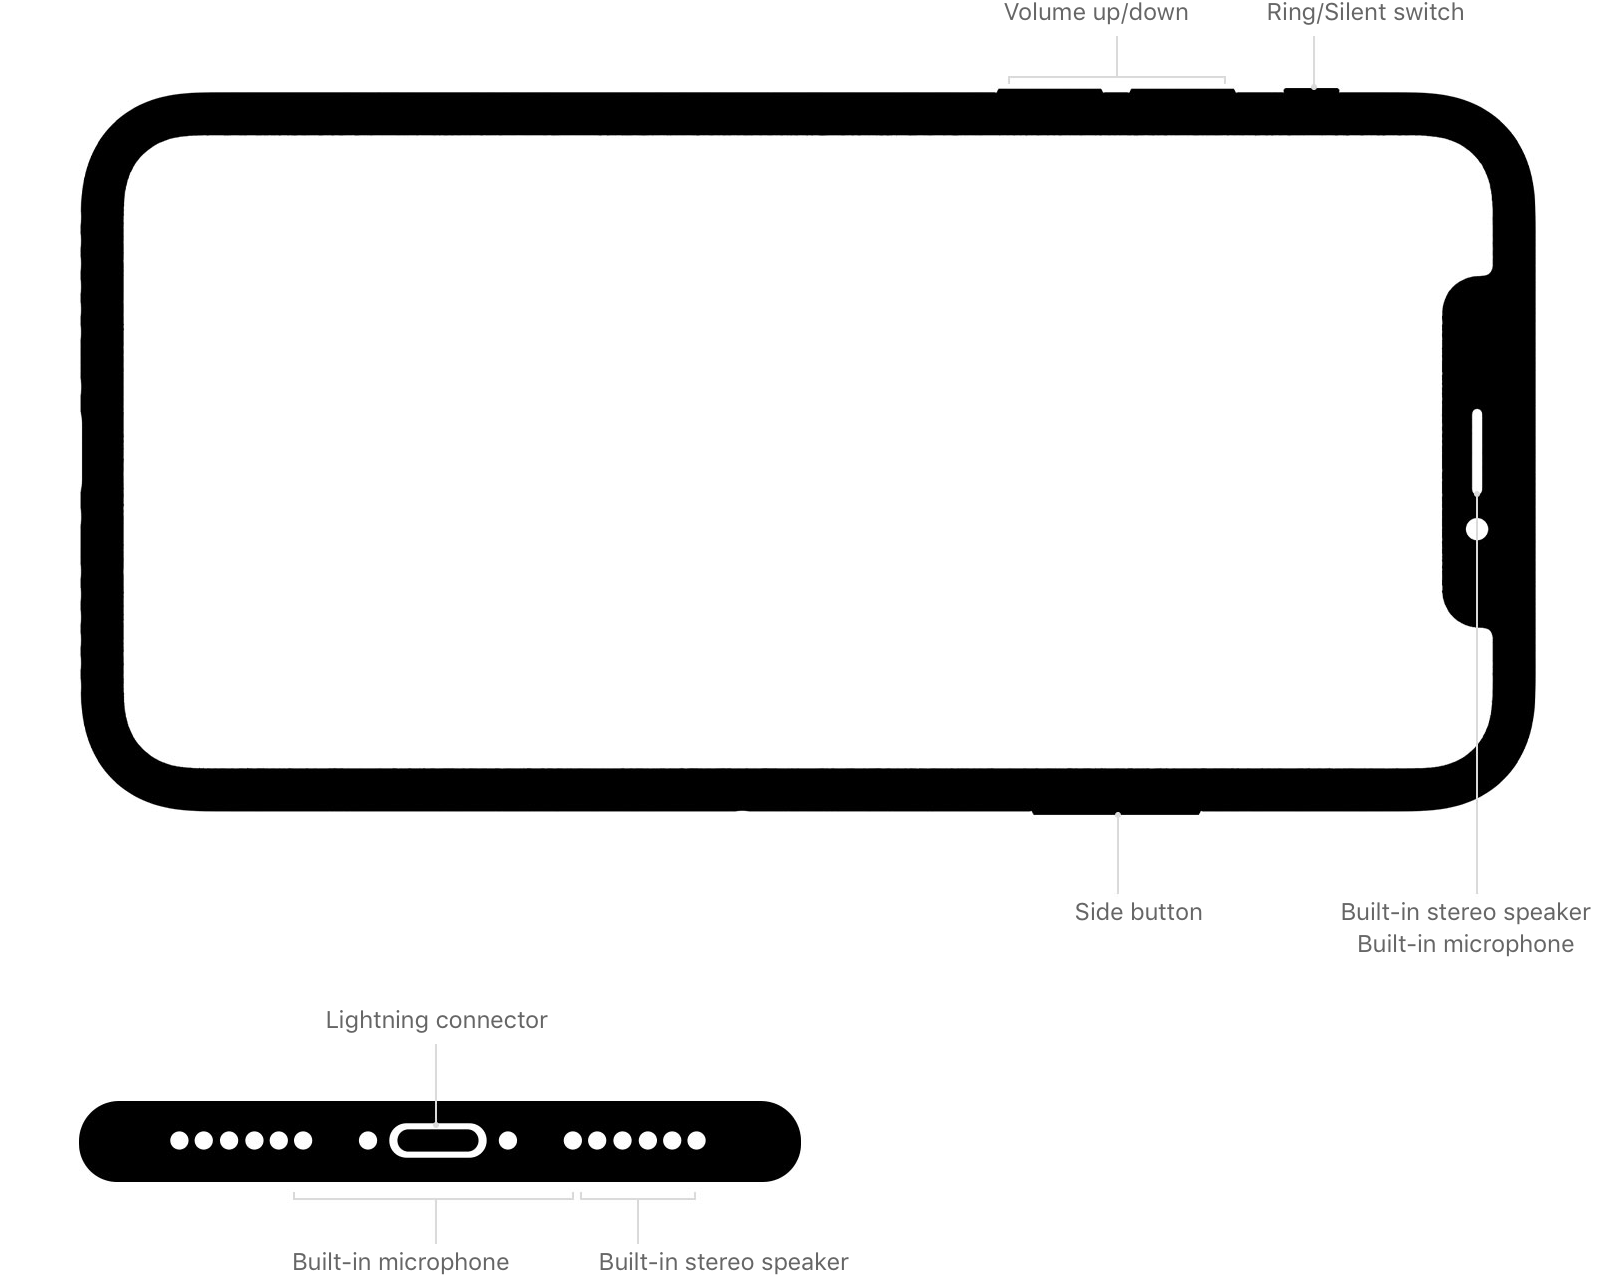
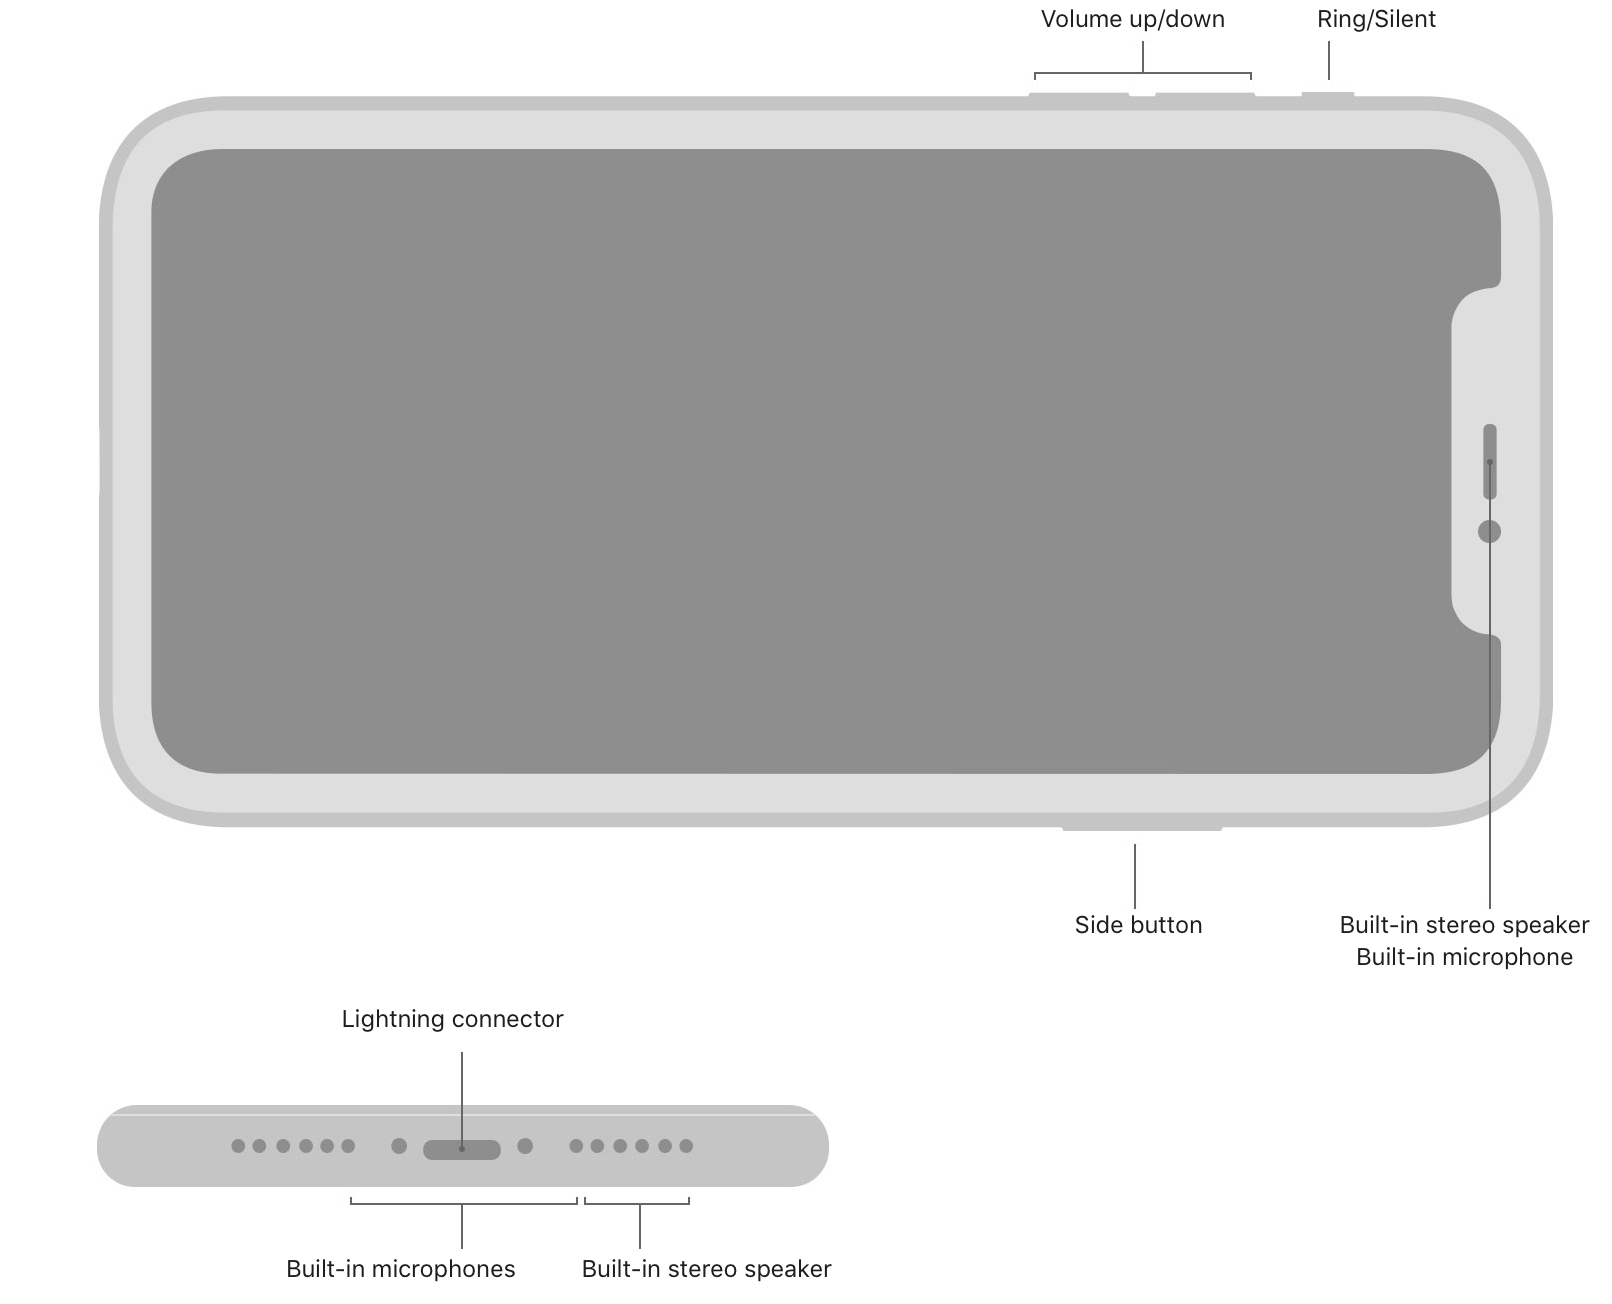
5. Ensure nothing is blocking the mics.
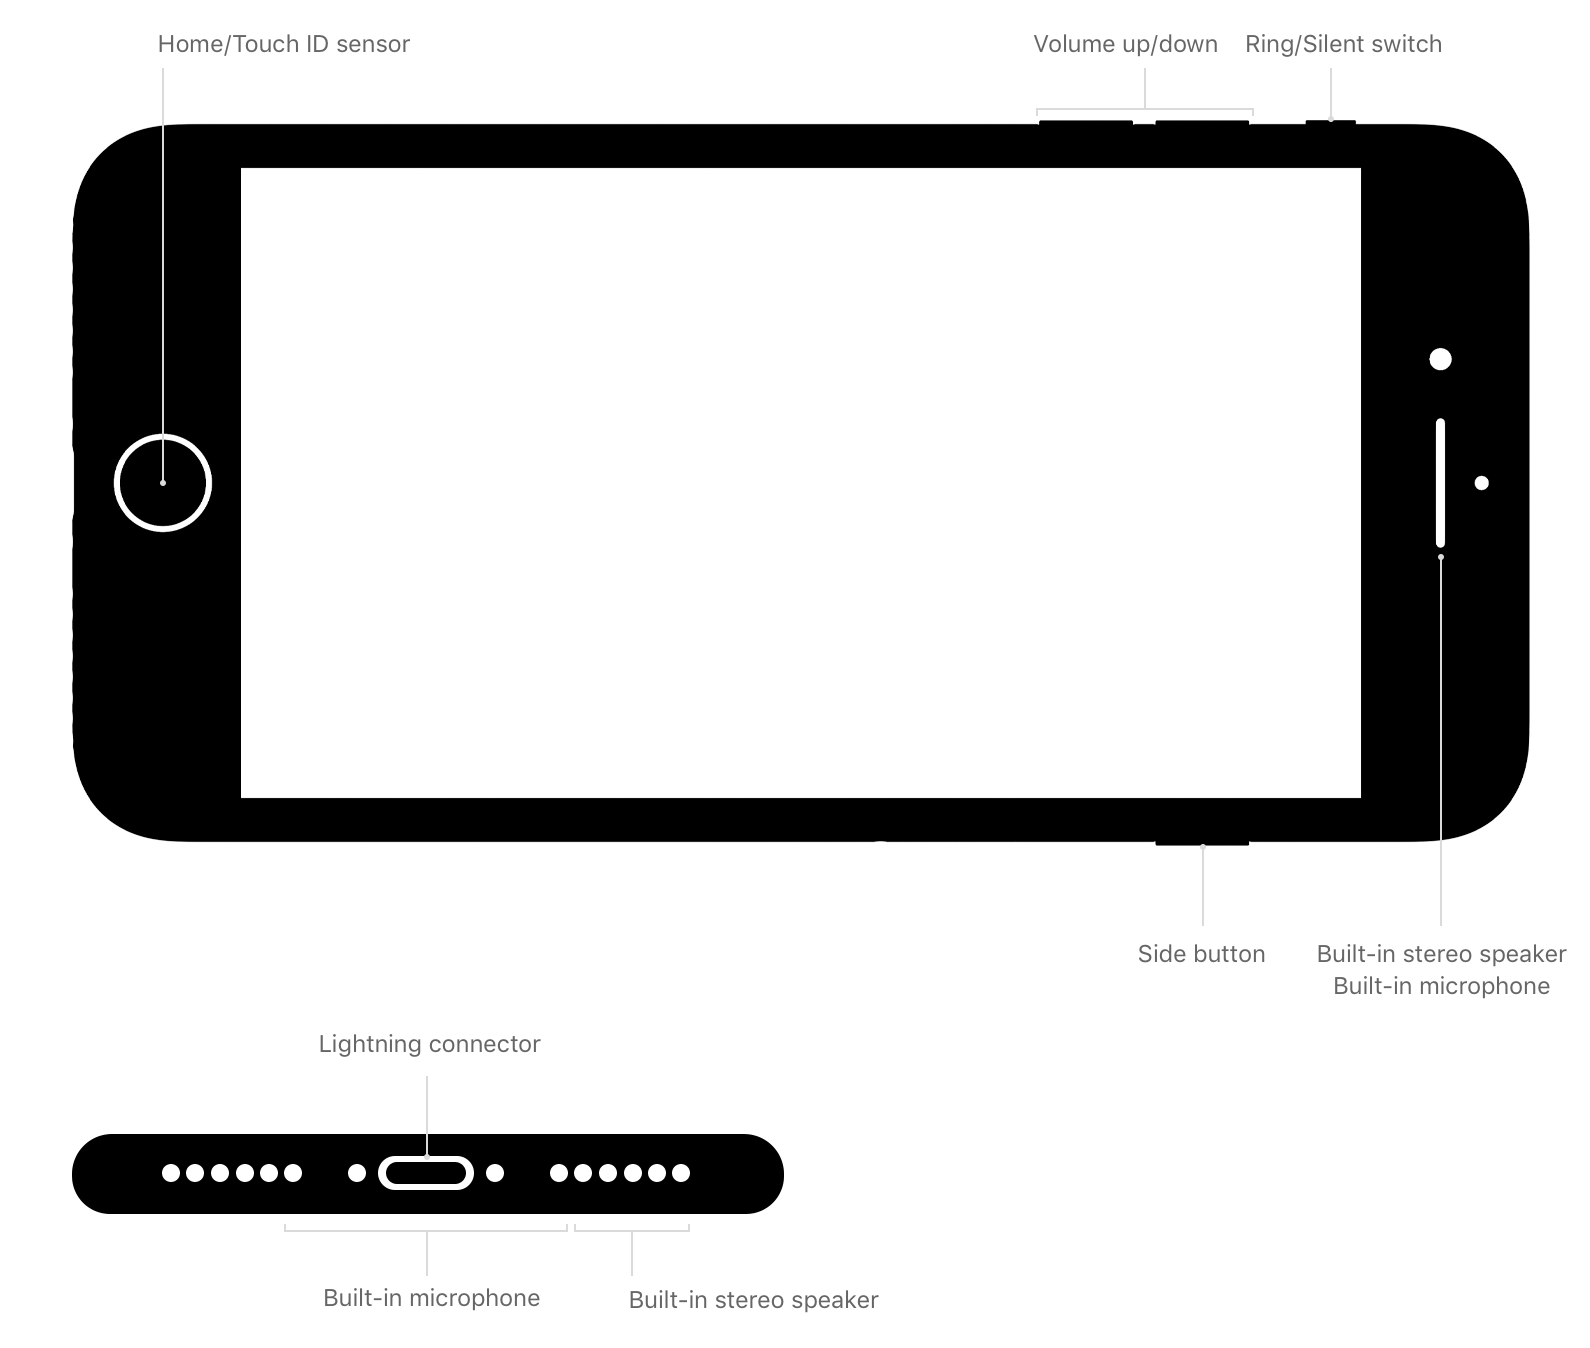
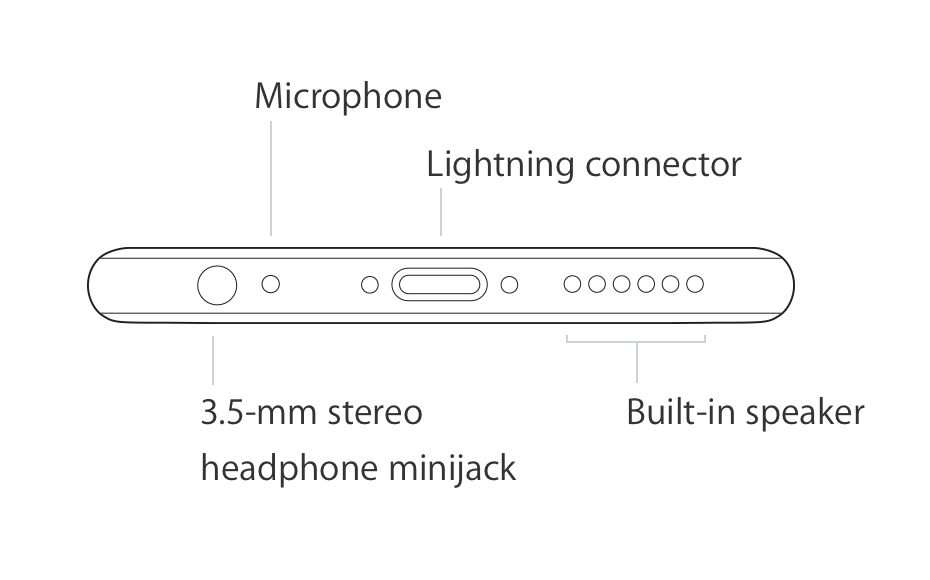
Your iPhone XR should have at least three microphones. Ensure there is no blockage within these areas. Remove your case or screen protector if it's getting in the way.
If dust or dirt is covering your iPhone XR microphone, it can affect the quality of sound received by the microphone. It can block the sound from reaching the microphone. You can clean the area to get rid of the dust from there. Moreover, you can also use a toothpick or needle to get off the dirt but do it gently and carefully.
6. Force quit the app / Close and Reopen.
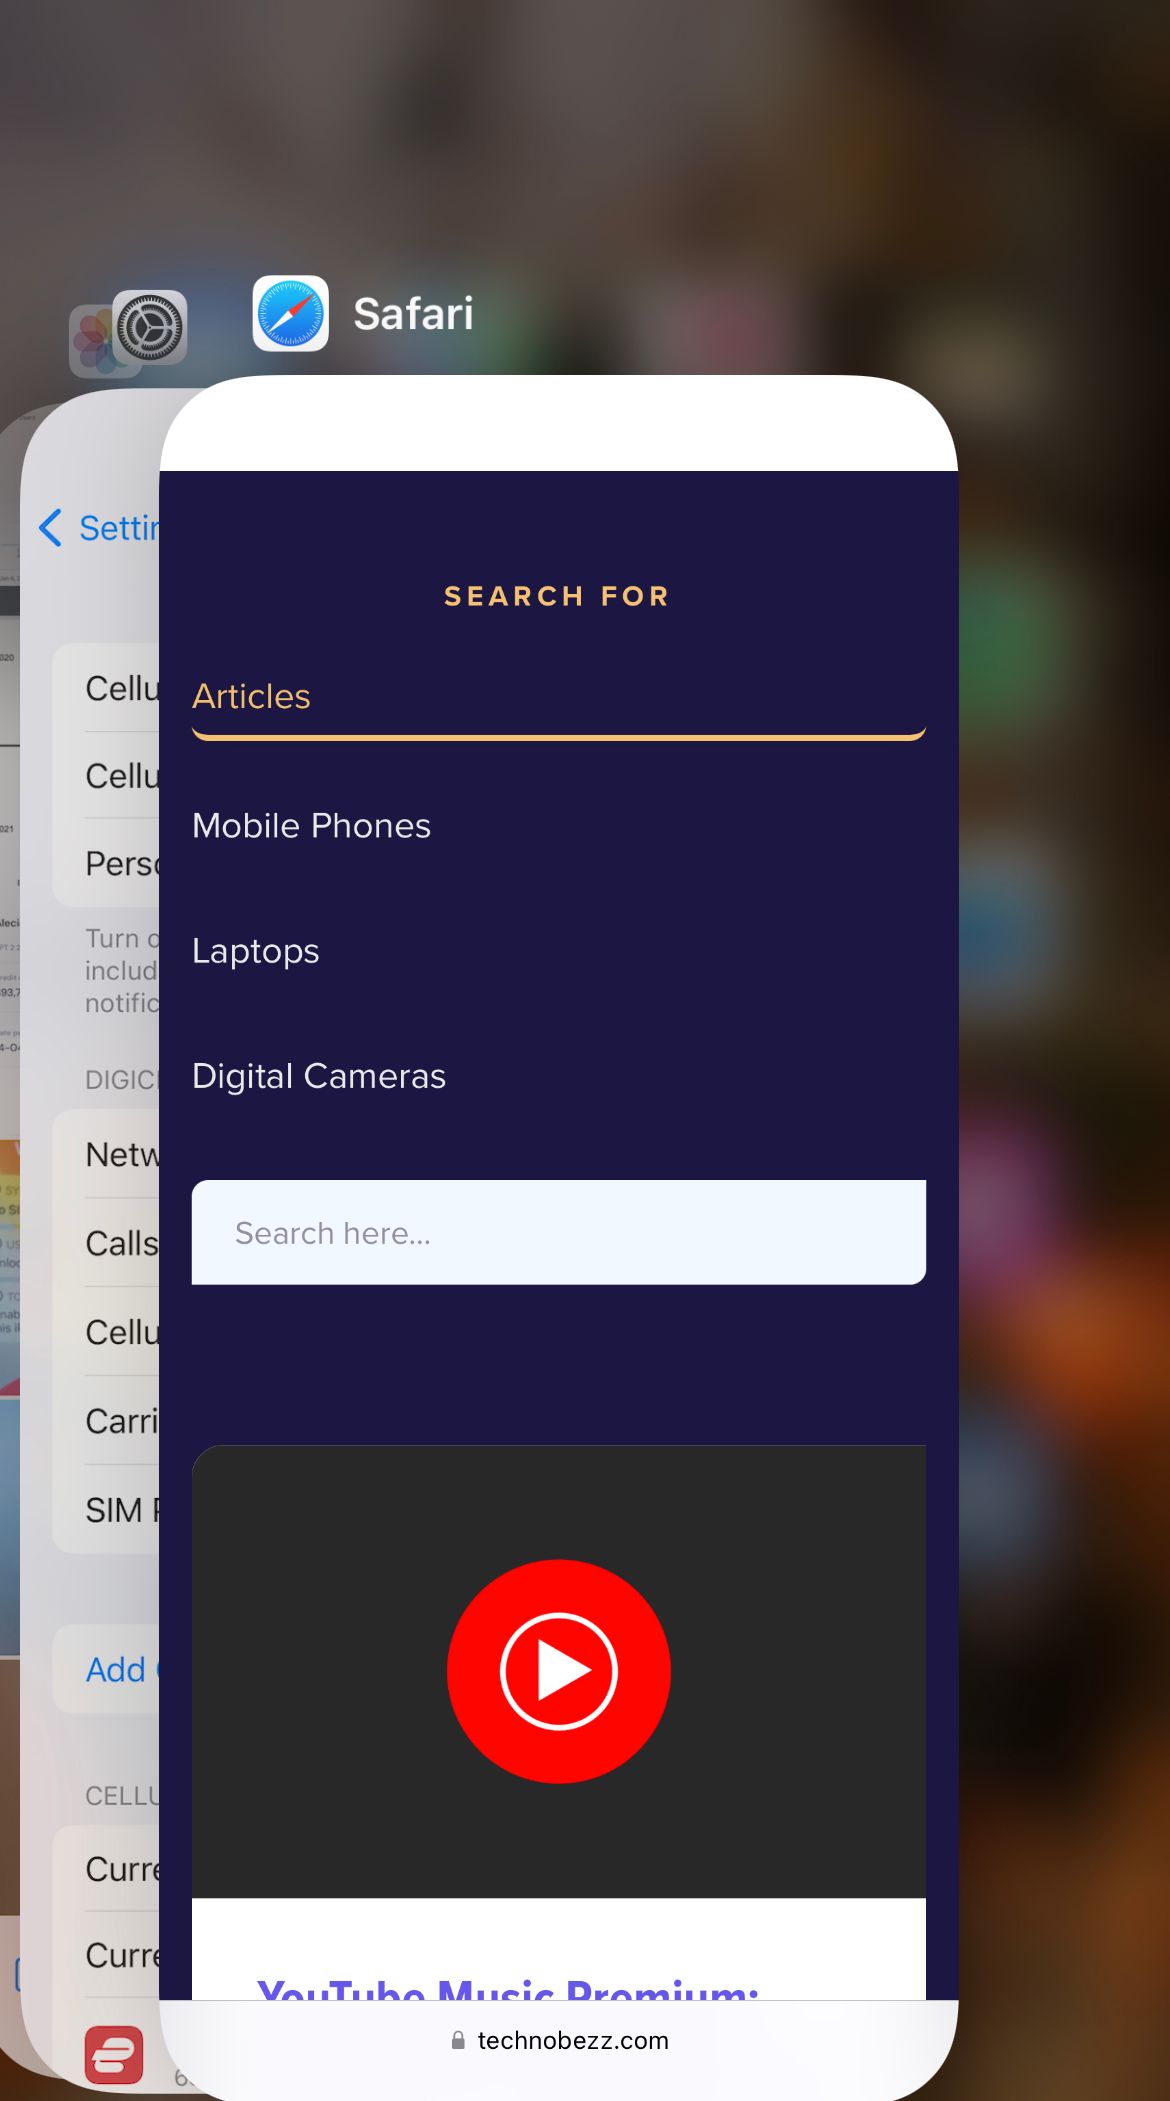
If an app like Skype or WhatsApp is causing the problem, consider reopening the app.
7. Check your iPhone XR's Microphone Settings.
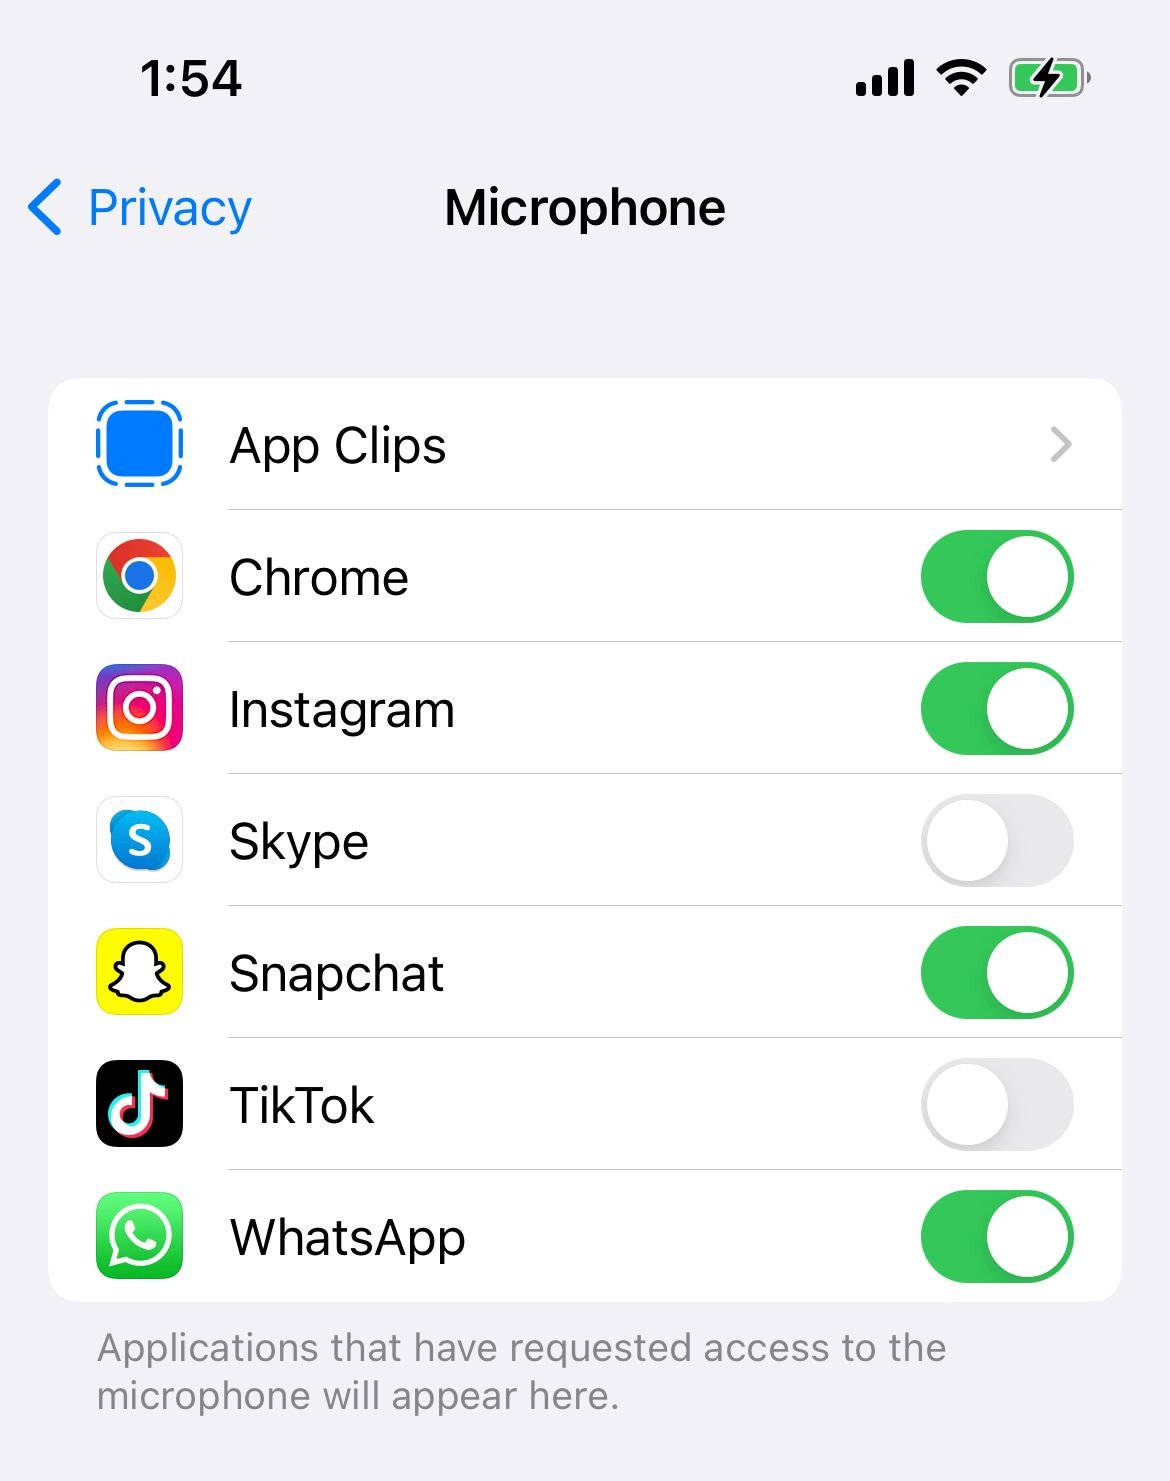
If the issue only happens when using certain apps, check your microphone settings. Make sure the app has permission to access the microphone. Open Settings >> Privacy >> tap Microphone.
8. Update iOS
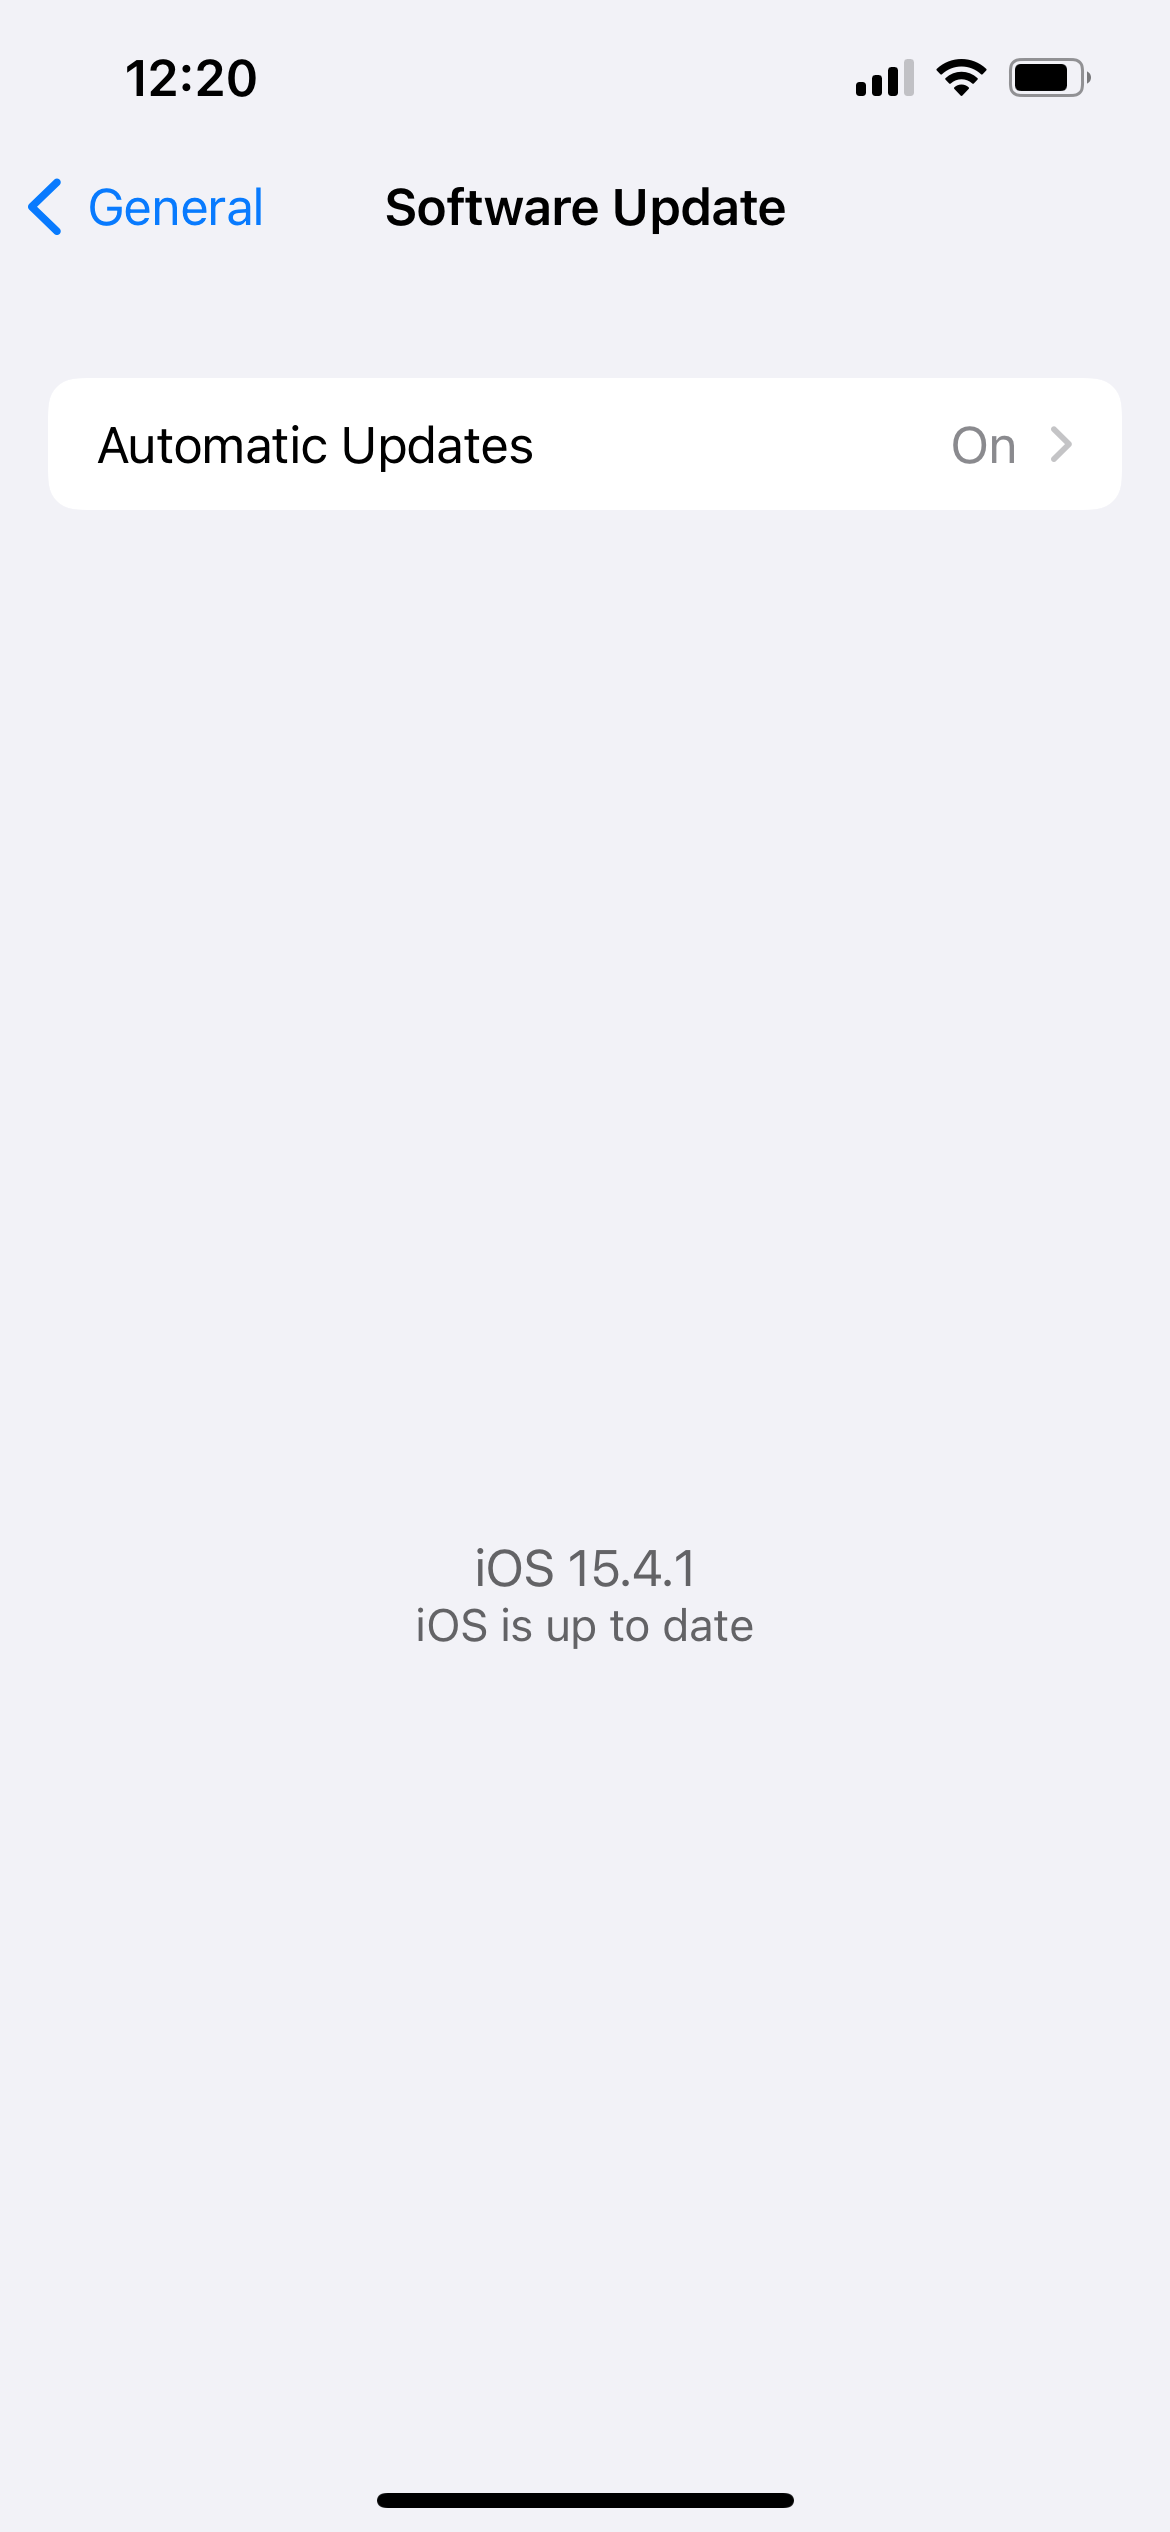
Check if there is a new version of iOS available. Head to Settings >> General >> Software Update. If there is, download it. It may help you get rid of microphone issues. Tap “Install” on the Software Update window to get the update.
9. Reset All Settings
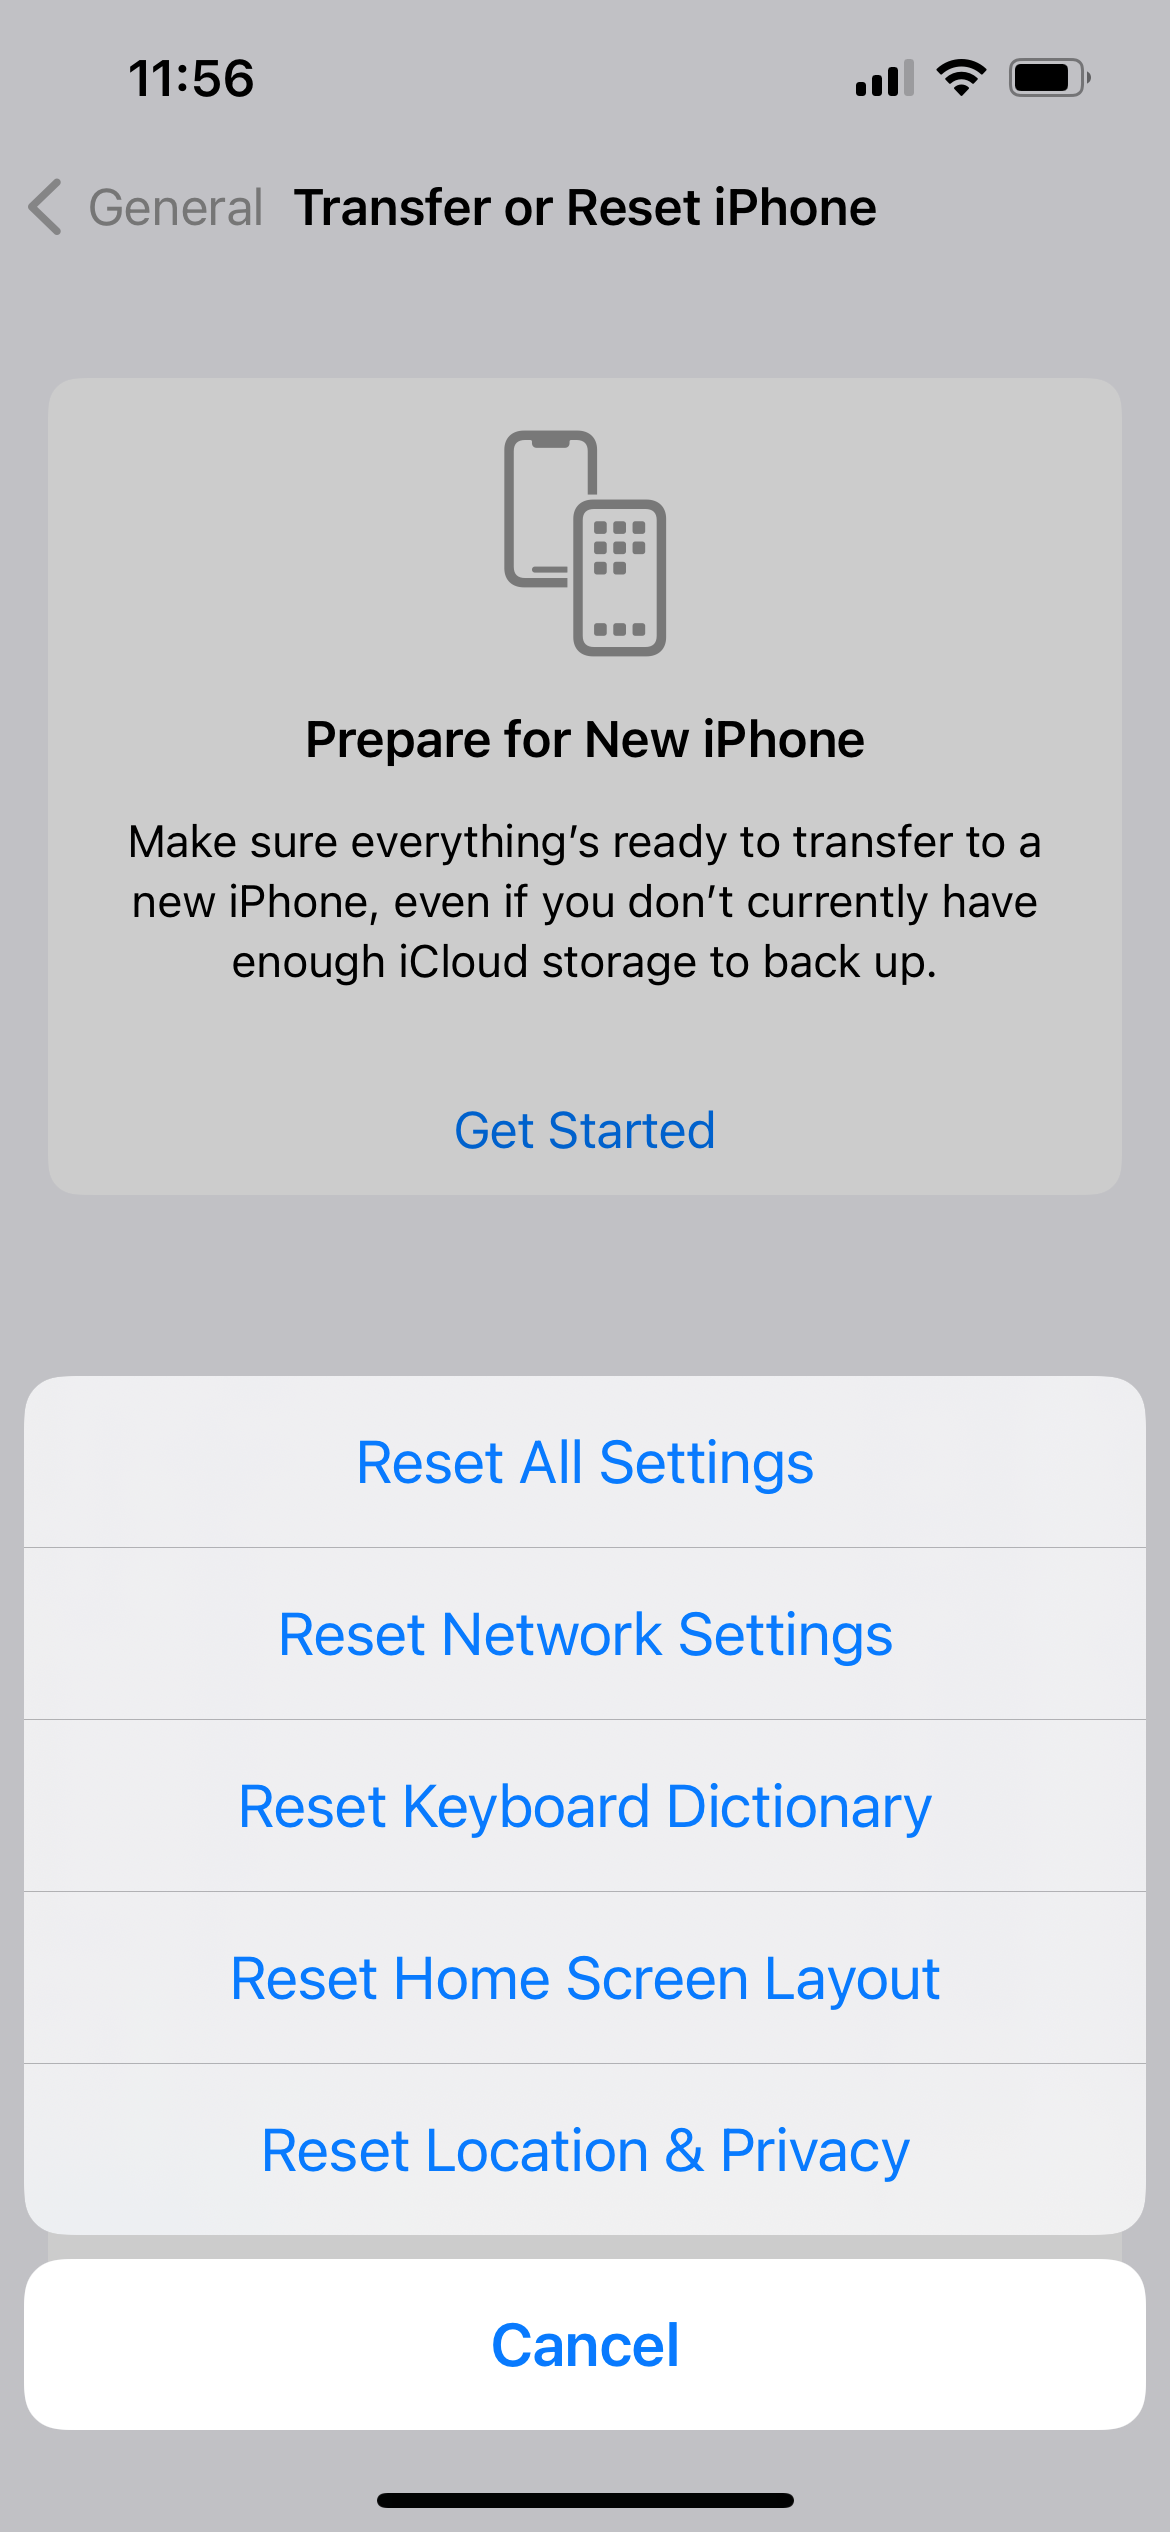
If you have done all the solutions above and the microphone won’t work on your iPhone XR, try to reset all settings.
See also - Randomly Restarts : How To Fix It
Performing a reset of your device's settings is a straightforward process. Firstly, navigate to the "Settings" menu, followed by "General" and then "Transfer or Reset". From there, select the "Reset All Settings" option, and if prompted, enter your passcode. Finally, confirm the reset by tapping "Reset All Settings" in the pop-up window.
10. Erase iPhone XR
If "Reset All Settings" didn’t fix your microphone issue, try to erase your iPhone XR. This technique will reset all settings and the apps and contents inside. That’s why it’s advisable to back up your data first.
To erase the iPhone XR, navigate to Settings >> General >> Transfer Or Reset>> Erase All Contents and Settings >> enter a passcode >> on a pop-up window, tap Erase.
11. Restore
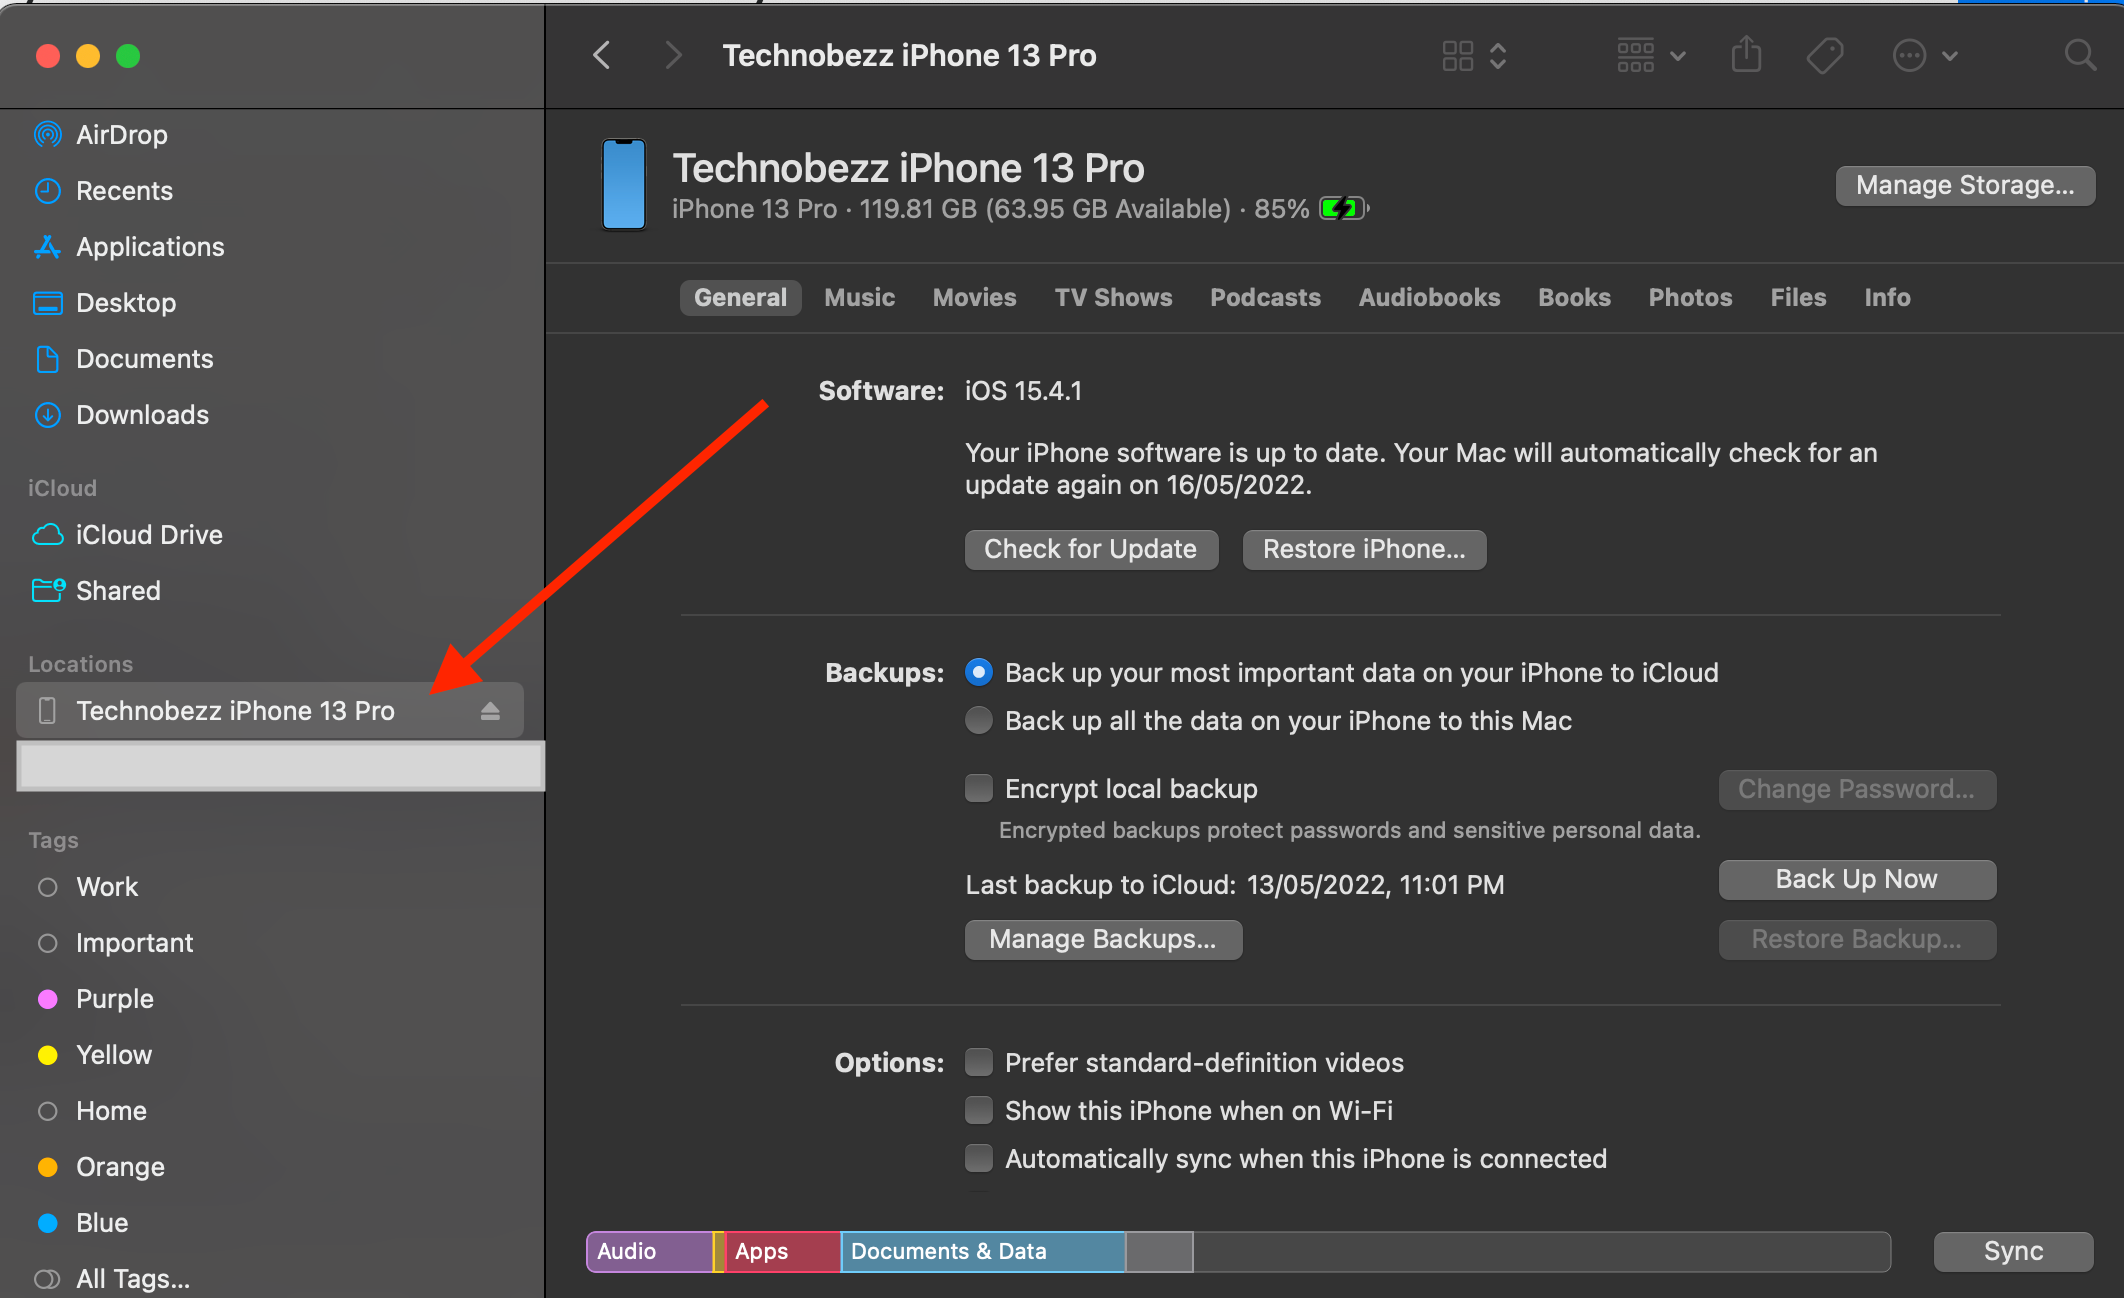
You can restore your iPhone XR to factory settings using Finder on your Mac. You will need a computer and a good Internet connection. Here are the steps:
- Connect your device to your computer
- Tap "Trust this device" on your iPhone XR
- Launch the Finder
- Under "Location" on the left sidebar, select your device
- Click "Trust this device" on your Mac (On the window to your right)
- Then, under the "General" tab, click "Restore"
If the iPhone XR microphone is not working even though you have tried all of the solutions listed above, please contact Apple or visit one of their stores.

