
Switching from Windows to Mac? Windows PC and Mac have many differences, especially regarding apps, operating systems (of course), and user experience. If you have never used an Apple computer, you might need to adapt to Mac’s keys, gestures, etc.
But before you do that, there is something more important to do: transfer the data. Here, we are going to show you how to do just that. Let’s see how to transfer data from Windows to Mac.
Update Software
You can use the Migration Assistant if your PC runs Windows 7 or later. It would be better to update the Software on both computers before starting the migrating process.
Connecting PC To Mac
Connect both computers to the same WiFi network or use an Ethernet cable, like a USB-C cable or Thunderbolt to Gigabit Ethernet adapter. If you are going to use a WiFi network, make sure you have a stable internet connection. Don’t forget to plug your PC and Mac into a power AC to avoid transferring data issues that may occur if the battery runs out.
Install Windows Migration Assistant
Migration Assistant is a native app that comes with every Apple computer. If you want to transfer data from Mac to Mac, you don’t have to install the app. However, if you intend to transfer data from PC to Mac, you must download and install Windows Migration Assistant. Before you download the app, check the operating system of your Mac.
- If your Mac uses the macOS Mojave, you must download Windows Migration Assistant v2.2.0.0.
- Download Windows Migration Assistant v2.1.2.0 to transfer data from the PC to macOS High Sierra and Sierra.
- Download Windows Migration Assistant v1.0.5.7 to transfer data from PC to macOS ElCapitan or earlier.
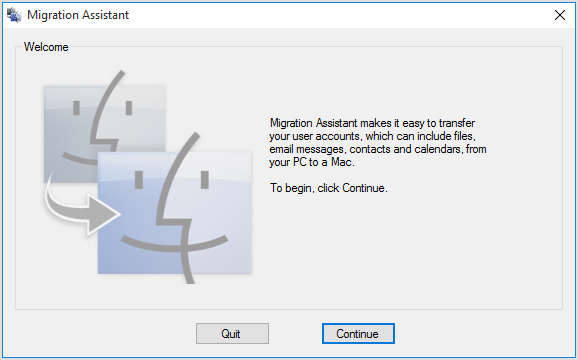
After installing, open the Windows Migration Assistant on your PC and click Continue.
Launch Migration Assistant on Your New Mac
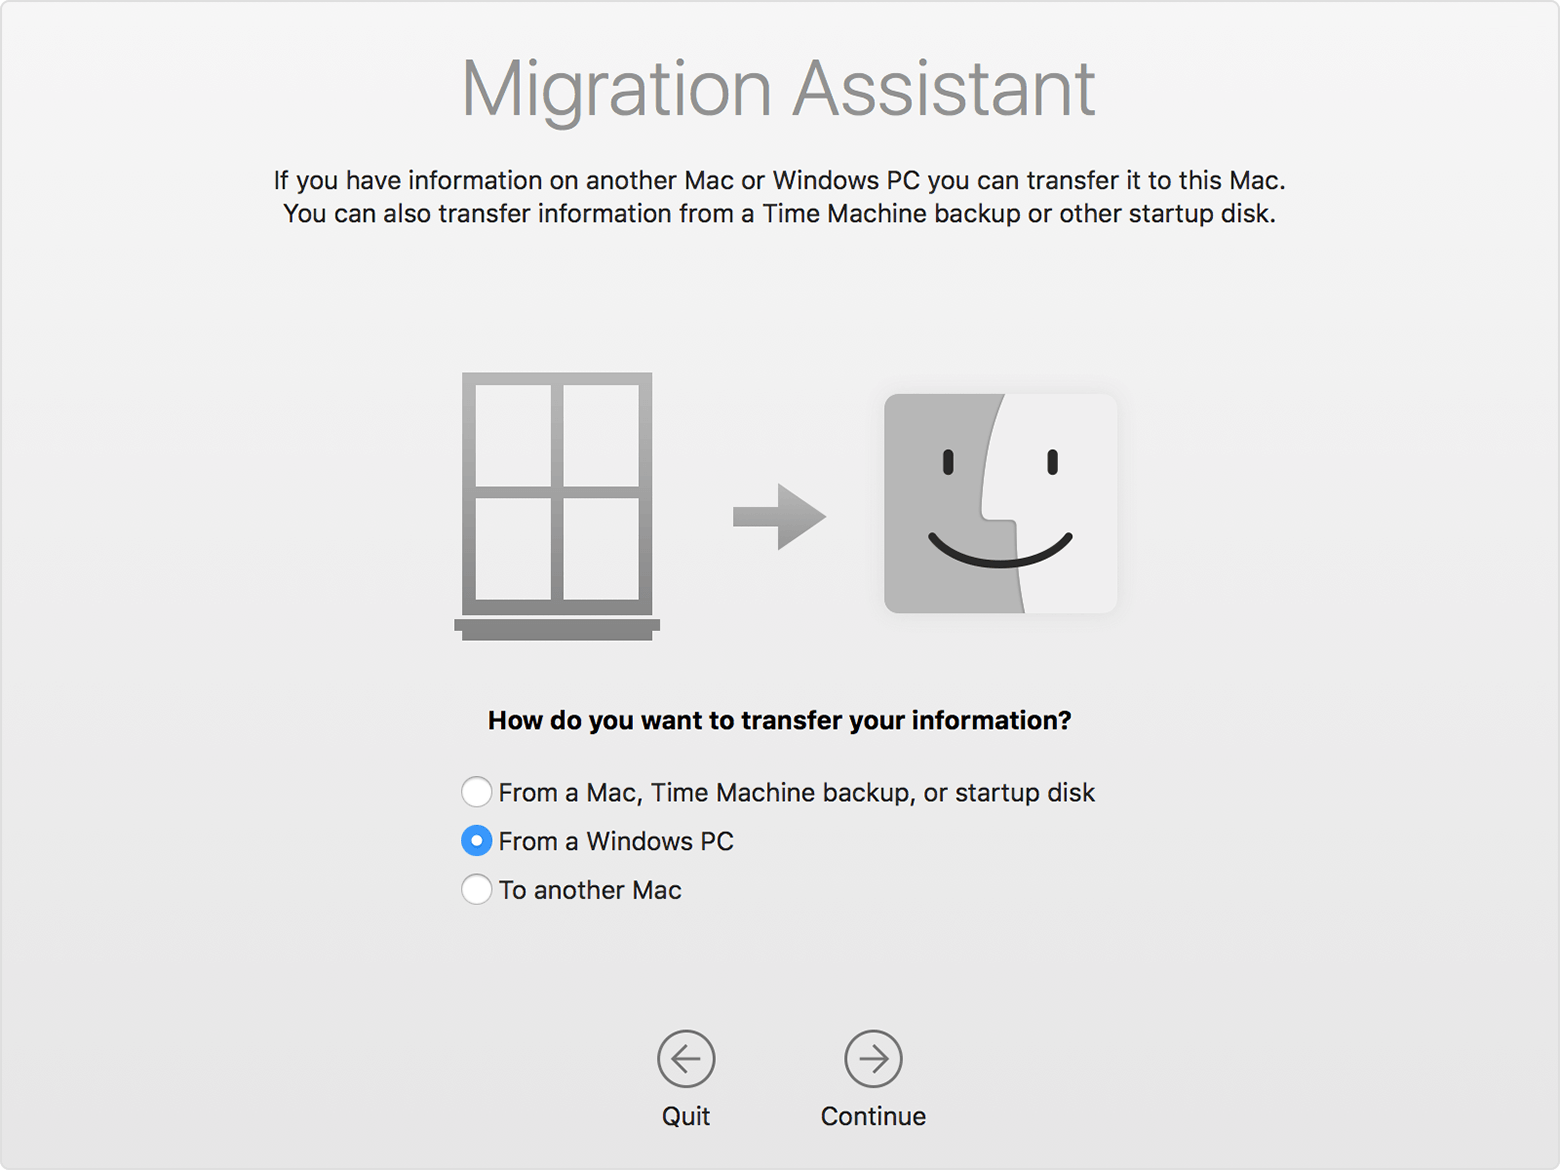
Open Migration Assistant on your Mac by launching Finder and clicking Applications. Next, click Utilities Folder and select Migration Assistant. Once the app is opened, you will be asked how you want to transfer your data. Tick “From a Windows PC” as the answer and click Continue to confirm. In the next pane, select your PC name.
Check the Security Code
![]()
The security code will appear on both computers. Ensure that the code on your Windows PC and new Mac are the same. Then, click Continue.
Select Data
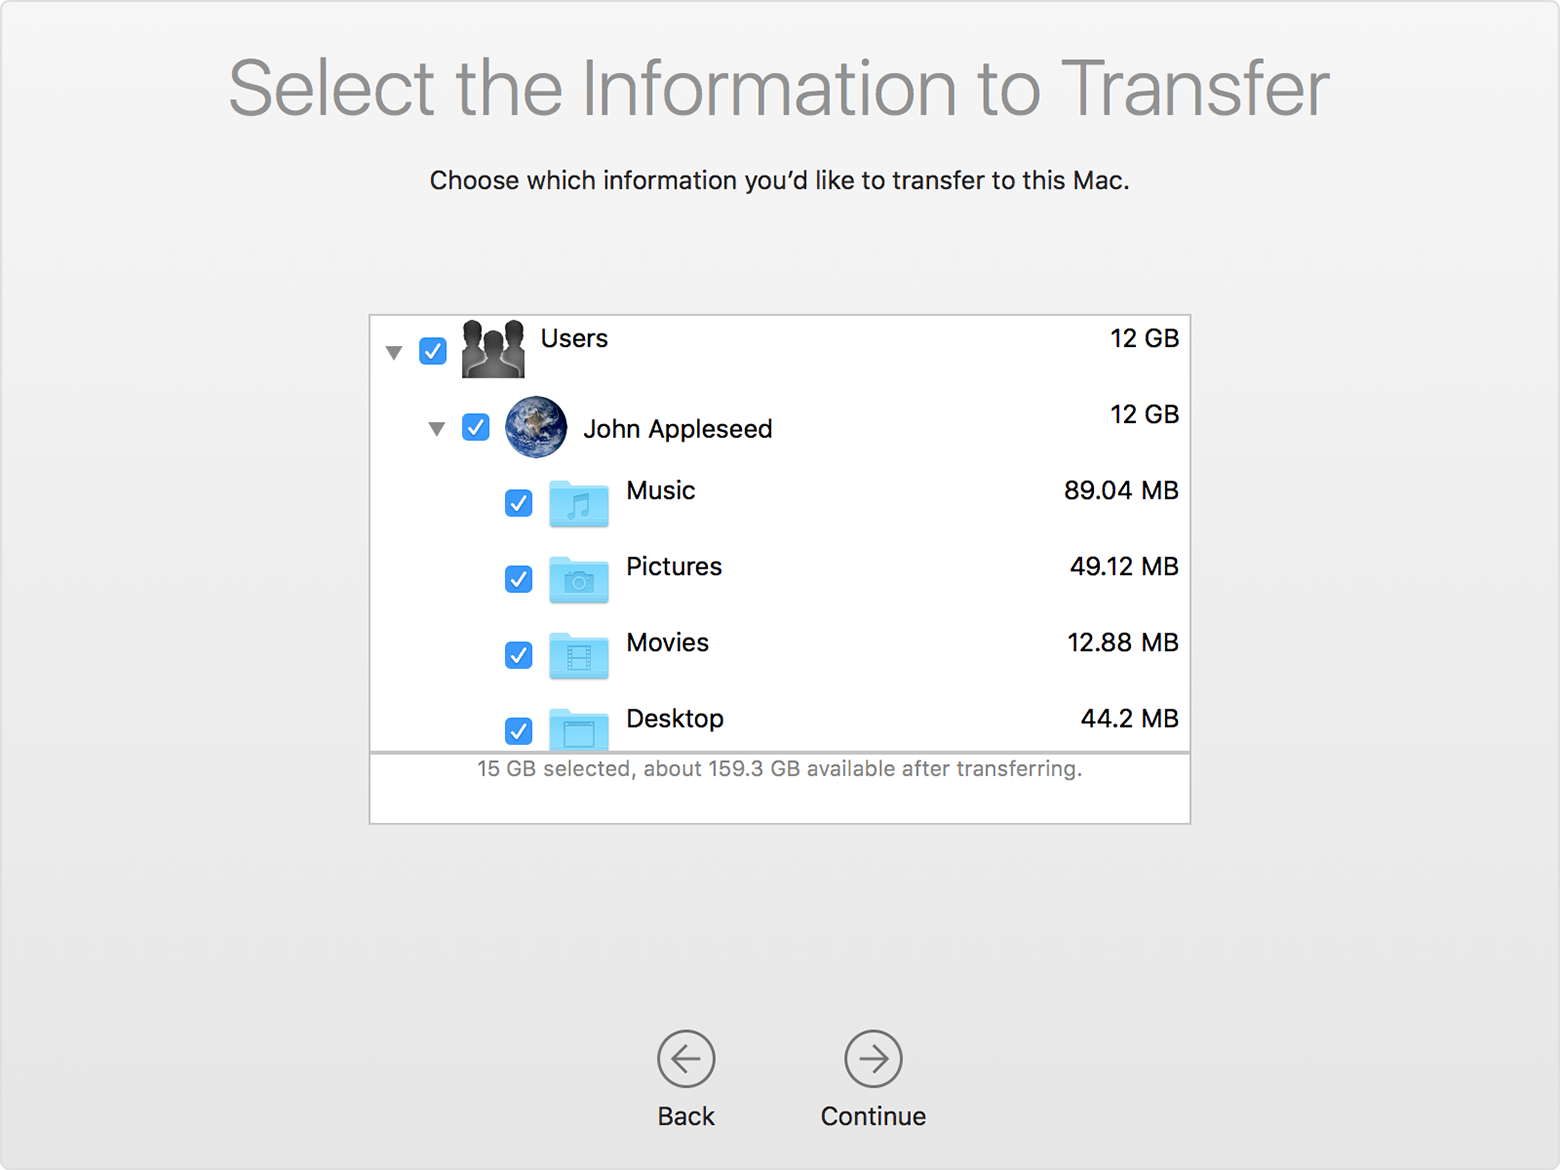
On a Mac computer, select any information you want to transfer to your new Mac, then click Continue. Transferring data from PC to Mac will now start.
Just follow this simple guide on transferring data from Windows to Mac, and you will do it all easily.
