

Kodi is a well-known open source media player that can run on almost all operating systems such as Mac, Android, Windows, iOS, tvOS etc. and does more than what standard media players do. There are many third-party add-ons that enable you to watch live television, movies and TV shows on Kodi.
It was earlier known as Xbox Media Centre (XBMC) and it lets you play music, videos, and podcasts through the internet directly. You can also play the media files from stored in the local network. While the Apple TV users have an option to use AirPlay to stream content to Apple TV through an iOS device Kodi can be customized to offer more functionality to the users. They will be able to stream content from YouTube, Pandora, Amazon Prime Instant Video, and Spotify.
Kodi also networks all the online devices and their media content making it accessible on all devices irrespective of its location. If you have Kodi on all devices the video, photo, and audio files would be available on other devices that are present in your media network.
So, if you have an Apple TV you should definitely have Kodi. Here is how to install Kodi on Apple TV.
See also: How to enable screen mirroring on iOS 11
Installing Kodi On Apple TV Fourth Generation
Kodi is not an Apple approved app but its exciting features are just awesome. We are going to discuss the method for Apple TV fourth generation.
Before you can start the process you need to have your Mac ready with the following things:
- XCode 8 or later
- iOS App Singer Utility for Mac
- Latest Kodi .deb file for tvOS
- Free and active Apple developer account
- USB-C to USB-A cable for connecting Mac and Apple TV
How To Install Kodi On Apple TV
- To begin with, you need to connect your Apple TV to your Mac with the USB-C to USB-A cable.
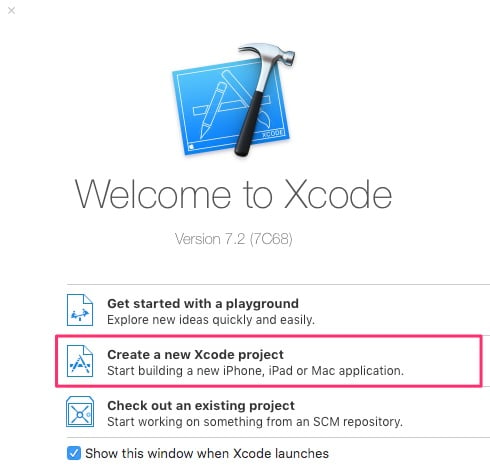
- As the Apple TV gets plugged in, you need to open the XCode 8 or the latest version that you have and select “Create a new XCode Project” in the main menu. Towards the left side of the window under the tvOS click on “Application” and then select “Single View Application” and then click “Next”.
- You need to specify the options for the “new project”. Pick a product name and organization name for your project which can be decided by you and ensure that you fill the “Bundle Identifier” which will take a converse domain name such as com.arcade.kodiappletv. This can be made up just like the other fields. Once the fields have been filled click on “Next” and save this project to somewhere it can be easily accessed.
- Once this step is done, you will see an error in the main XCode window saying that the software isn’t able to find a “matching provisioning profile”. You shouldn’t panic after seeing this error. You just need to click “Fix Issue” and the software will solve the issue itself.
- An active Apple Developer account is needed to resolve the problem and you will be asked to sign in with an Apple ID with the developer account. “Add” and with your email address and password sign in. There may be some users who will be prompted for the login details again but this is not something to worry about. Just select your Apple ID from the drop down and select “Choose” to move ahead. XCode will resolve the problem and a provisioning profile based on your developer account will be created.
- As this problem is solved you will have to go to the top of XCode window that is beside the Play and Stop buttons towards the top left side and then select Apple TV from the drop down.
- Now open iOS App – Singer and from the drop-down pick the required “Singing Certificate”. Repeat the process for “Provisioning Profile” and pick the name of the project which you earlier created in XCode. The “Input File” will prompt for Kodi .deb file. You need to “Browse” and look for the downloaded file. Leave the “App Display Name” area blank if you don’t wish to rename the app on Apple TV home screen.
- As you finish filling the required fields just click on “Start”. An IPA file based on Kodi .deb will be created by the Signer app that will be ready for installation on your Apple TV.
- Click Window>Devices in XCode and from the list towards the left select your Apple TV from and then click “+” under the header “Installed Apps”.
- As a final step, find the IPA file in the iOS App Signer app and select. The package will now install Kodi Apple TV.
Once the process is complete you can start using Kodi on your Apple TV.
